Introduction
Are you interested in programming Raspberry industrial PLC interrupt inputs using C? Join us as we dive into this step-by-step guide.
This tutorial equips you with the essential knowledge to harness interrupt capabilities on Raspberry PLCs. From setup requirements to programming intricacies, this guide empowers you to effectively use interrupt inputs, enhancing the functionality of your Raspberry PLCs effortlessly.
Requirements
Setup
Software
Firstly, your PLC should be running the Raspberry Pi OS image provided by Industrial Shields. If you need to install a new one, see this post:
Installing an Operating System in the Raspberry PLC >>
In this tutorial we will use this library to interact with the interrupt inputs: WiringPi. WiringPi is a C library designed to interact with the GPIO pins of the Raspberry Pi, with many functions including interrupt management, which we will use this time. In order to follow this tutorial, you will need to install it on your Raspberry PLC. You can download and install it by following the steps described in its GitHub repository.
Hardware
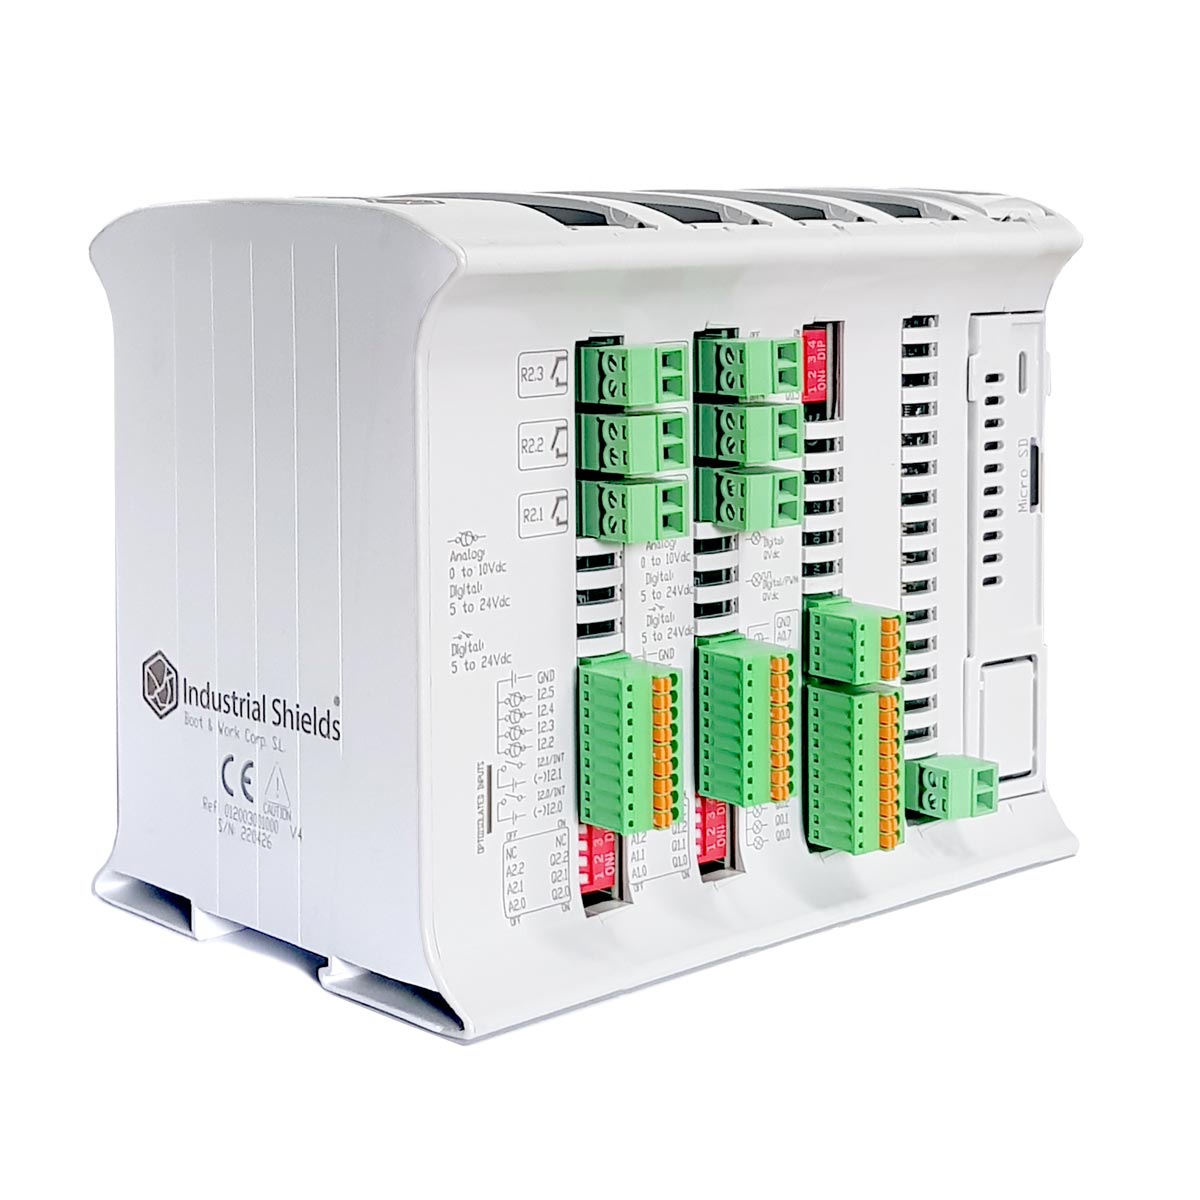
Let's have a look at the interrupt pins of the Raspberry PLC. Depending on the model, there can be between 2 and 6 pins in the PLC. Use the following tables to identify the pins on your model and the GPIO associated with each input. In addition, WiringPi uses its own pin nomenclature, which is also included in the chart below:
Raspberry PLC Input (Analog/Relay) | GPIO Pin | WiringPi Pin |
I0.5 / I0.1 | GPIO 13 | 23 |
I0.6 / I0.2 | GPIO 12 | 26 |
I1.5 / I1.1 | GPIO 27 | 2 |
I1.6 / I1.2 | GPIO 5 | 21 |
I2.5 / I2.1 | GPIO 26 | 25 |
I2.6 / I2.2 | GPIO 4 | 7 |
Once you have identified the interrupt pins, you can connect them correctly. The interrupt pins are optoisolated to protect the device from overvoltage, so there are 2 pins you need to connect: the signal you are monitoring and its ground reference. Check the following diagram to see how to wire your PLC correctly.
Remember! The Raspberry PLC must be powered by a 12-24Vdc power supply.
Programming
Now that you have our PLC properly set up, you can start programming it. As mentioned earlier in this article, the WiringPi library is used to interact with the interrupt inputs. In this simple example you will see how to trigger an interrupt from a pin.
The first thing you need to do is include and initialise the library:
#include <wiringPi.h>
...
int main (void) {wiringPiSetup ();
...
}
To make the interrupt work, you need to define a function that will be called when an interrupt is detected. Then you attach this function to the interrupt of a specific pin using the following function, which takes 3 arguments:
- The pin to which we want to attach the interrupt (according to the WiringPi nomenclature, see the table at the beginning of this article).
- The interrupt mode: when it should be triggered (falling or rising edge).
- The function callback of the function we want to execute when the interrupt is triggered.
wiringPiISR (2, INT_EDGE_FALLING, &myInterrupt); // Arguments are: Pin, Interrupt type, Function callback
Now you have all the necessary parts to complete a programme that uses the interrupt inputs.
For example, look at the following code, which implements a simple counter of the interrupts on input I0.5 of a Raspberry PLC. If you want to test it on your device, you can compile it with this command: gcc -o file file.c -l wiringPi . See how to link the WiringPi library!
#include <stdio.h>
#include <string.h>
#include <errno.h>
#include <stdlib.h>
#include <wiringPi.h>
static volatile int globalCounter = 0;
void myInterrupt (void) { ++globalCounter; }int main (void) {int gotOne;
int myCounter = 0;
wiringPiSetup ();
wiringPiISR (23, INT_EDGE_FALLING, &myInterrupt);
for (;;) {gotOne = 0;
printf ("Waiting ... "); fflush (stdout); for (;;) { if (globalCounter != myCounter) { printf (" Interrupt detected. Counter: %5d\n", globalCounter);myCounter = globalCounter;
++gotOne;
}
if (gotOne != 0)
break;
}
}
return 0;
}
Finally, you can execute the program, which can be done by simply running the generated executable. The next screenshot shows the usage of the program: every time a new interrupt is triggered, the counter is updated and its value is printed to stdout.

That is all for this post, now you know how to use the interrupt inputs of the Raspberry PLC in C!
If you want to know more
check out the following link and do not forget to read the other posts in this blog!


How to program Raspberry industrial PLC interrupt inputs with C