Index
1. OTA
2. Requirements
3. Configuration
3.1 First Steps
3.2 Initial Configuration
4. OTA configuration
Thanks to the use of the ESP32 module to control the Industrial Shields 10 I / Os industrial controller Arduino, you will be able to access the Wifi / Bluetooth connections without having to implement an external device. By using its Wi-Fi connection, you will be able to work with it remotely, to the point of being able to reprogram it without the need to use the computer's serial port by executing the OTA process.
OTA
OTA (Over the Air) is the process of uploading a program to the ESP32 module using the Wi-Fi connection instead of the serial port. This functionality will allow you to reprogram your PLC Arduino for industrial automation without the need to be nearby, solving situations where access to the module is limited or physically inaccessible.
The OTA process can be configured using the Arduino IDE, a Web browser, or an HHTPS server, although in our case we will use the Arduino IDE thanks to its simplicity and efficiency.
In any case, in order to configure the module via Wifi, the first program will have to be uploaded through the serial port to enable the Wifi option.
Requirements
The requirements for the development of the implementation of the program using the Wifi network are as follows:
Configuration
First Steps
First of all, to be able to work with the OTA process, make sure you have an ESP32 module as incorporated in PLCs of our brand. The "Arduino IDE" program must be installed together with our libraries, otherwise, you can prepare the work environment at the following link:
You can also check our blog where we explain all the steps to set up all the environment correctly. In these examples, we will work with an Industrial Shields PLC of the 10 I / OS ESP32 family.
Initial Configuration
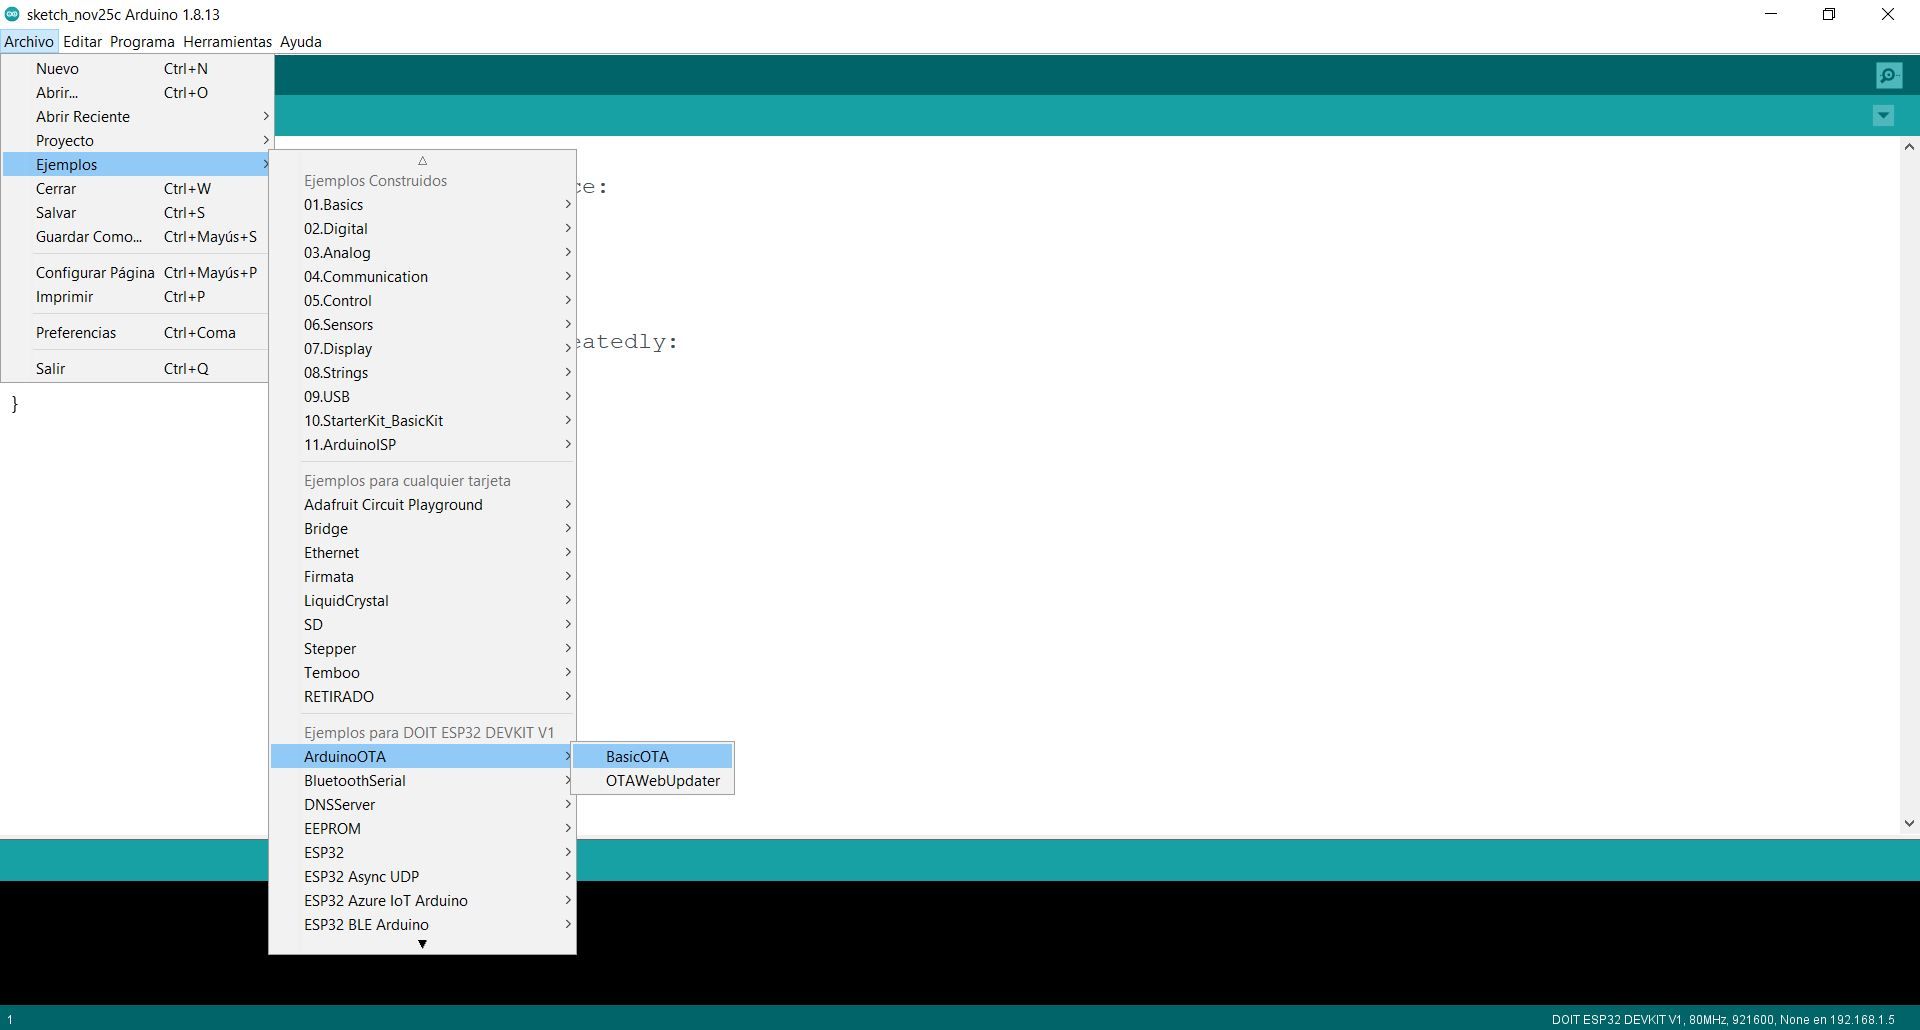
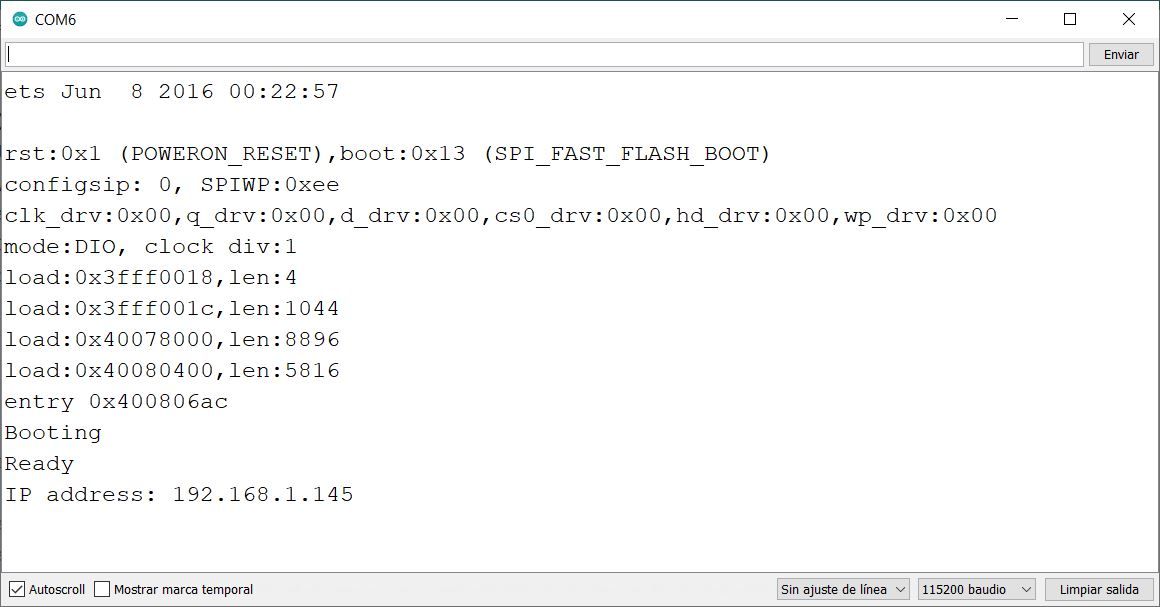
Once the industrial Arduino IDLE has been configured and the necessary libraries have been installed, you will proceed to configure the ESP32 module of the programmable logic controller so that it can work, receive and upload programs via Wifi connection. The first time you work with it, you will need to use the serial port to be able to configure it. Therefore, you will connect the PLC to your computer and select the 10 IOS PLC FAMILY board -> "10 IOS PLC DIGITAL" together with the COM port that appears. Once selected, open the “BASICOTA” example program located in File -> Examples -> ARDUINO OTA.

The program will have to be uploaded for the initial setup. In it, you will define a sequence of parameters that you will have to keep for future modifications. The example uses the original Arduino ESP32 libraries:
#include <WiFi.h>#include <ESPmDNS.h>#include <WiFiUdp.h>#include <ArduinoOTA.h>
The first lines of code that you will find will be the most important for you. They define the parameters of the configuration of our local Wifi network, so you will have to modify them for your particular case by putting the name of the network and its password. Once these two parameters have been changed, the program should not be modified again.
const char* ssid = "…………";const char* password = "…………*";

OTA Configuration
NOTE: it is necessary to include the OTA configuration in each new program that is uploaded to the ESP32 module, otherwise, after uploading the new program the ESP32 cannot be reconfigured using OTA. To re-enable the OTA process, the module must be reloaded with the initial configuration using the serial port.
void loop() {ArduinoOTA.handle();if(millis()-Time>1000){Serial.println("Hello");state = !state;digitalWrite(Q0_9,state);Time = millis(); }}

How to program the 10 I/Os ESP32 industrial PLC via WiFi