Introduction
Do you have an openmote B board and would you be interested in connecting actuators to the GPIOs? In this blog post, we will learn how to turn all openmote GPIOs on and off recursively, like a blink with all GPIOs.
Latest Posts
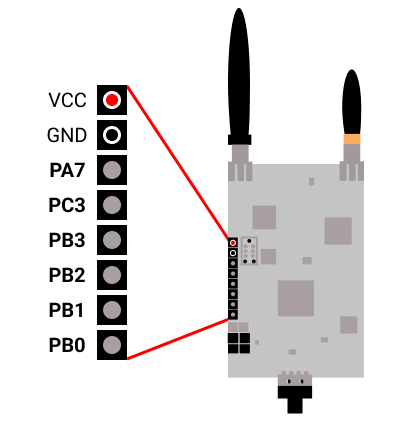
The main openmote B board includes an expansion port (8 pins with 2.54 mm spacing) that can be used for debugging or to connect daughter board, i.e., the openmote B sensors board. The expansion board includes a Vcc (2.5V) and a GND pin, as well as six configurable pins.

Test the GPIOs
In order to test our openmote b board's GPIO, we will need to download the openmote B files.
1. First of all, go to section number 2. How to download openmote B board files >>>
2. Then, we are going to install docker-compose. Please, install it from here >>>
3. Then, inside the test folder, there is the folder called test-gpio, which will be the project that we are going to run.
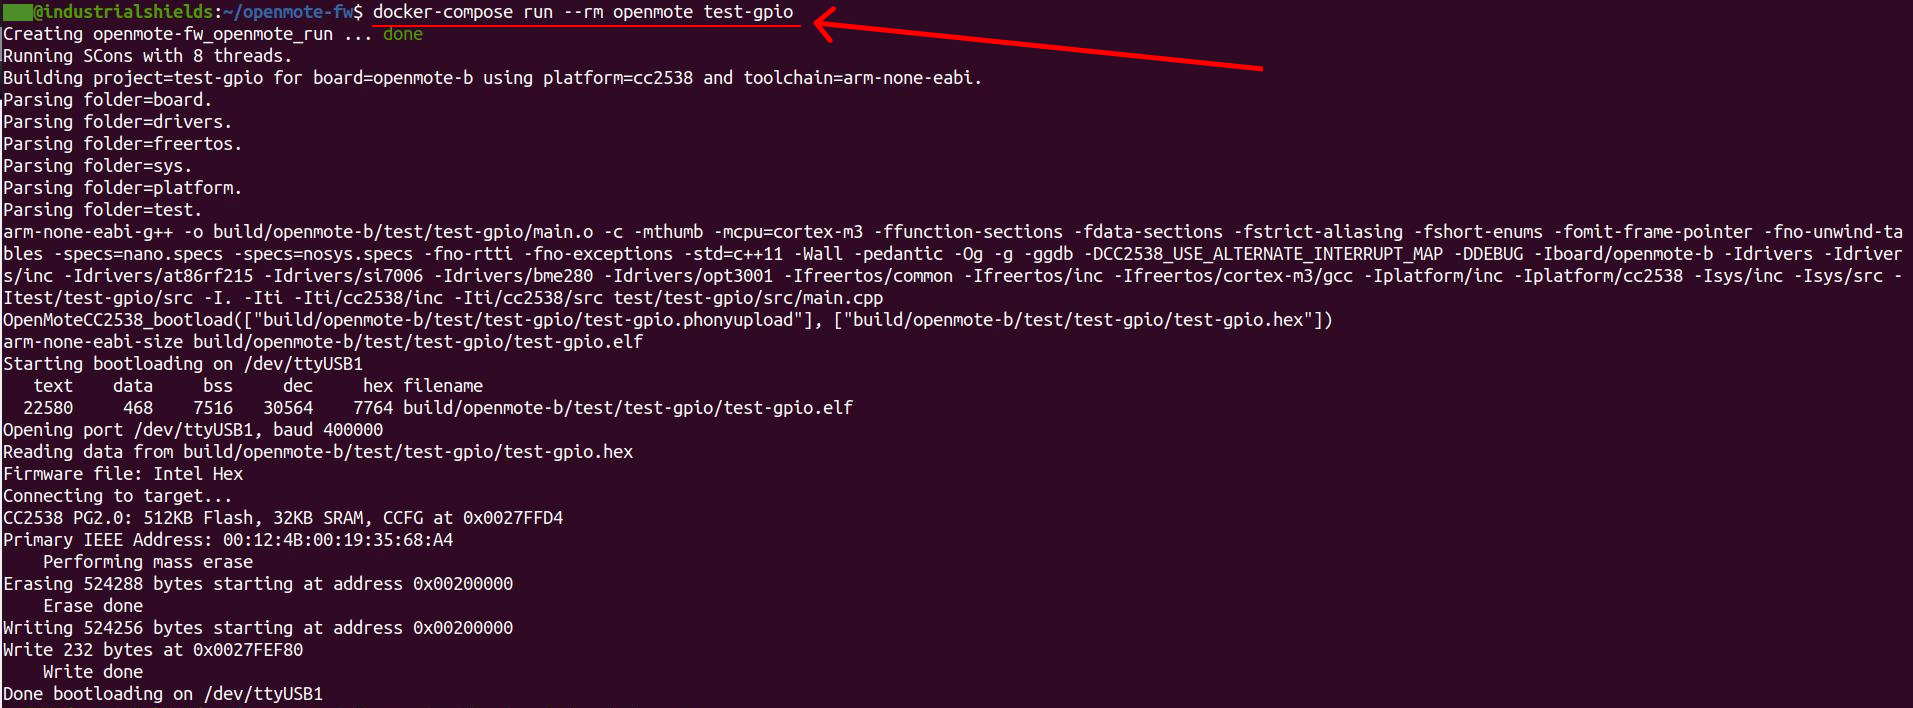
4. From the openmote-fw/ folder, we will run the following command:
docker-compose run --rm openmote test-gpio
5. Finally, connect an actuator or just measure the voltage with the multimeter and see how the pins keep turning on and off.

Also, you can check the code by opening the file:
nano ~/openmote-fw/test/test-gpio/src/main.cpp
How to turn OpenMote B board GPIOs ON and OFF