
Introduction
The ESP32 PLC 14 equipped with the RN2483A LoRa transceiver module provides an efficient platform for LoRaWAN applications. This tutorial explains the integration of the LoRa Click Board with the ESP32 PLC 14 and provides a basic guide to using this technology.
The tutorial outlines the functionalities of the RN2483A chip, the interaction between the LoRa click board and the ESP32 microcontroller, and provides a basic Arduino IDE sketch for testing the functionality of the module.
Expansion board LoRa
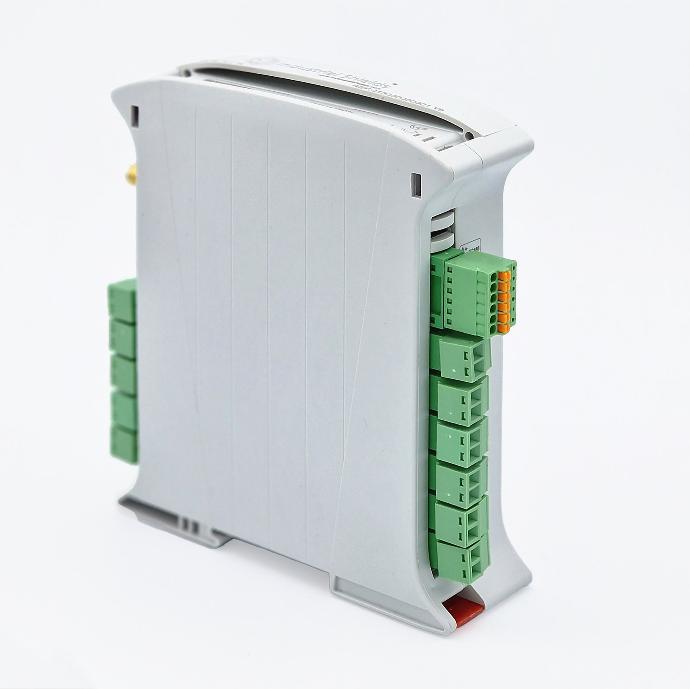
TThe ESP32 PLC 14 & LoRa includes the RN2483A LoRa transceiver module, which is soldered into a custom click board and connected to the expansion board from the PLC.
This module is specifically designed for LoRaWAN applications as the chip can be configured to work with OTA or ABP and has several commands to set the appropriate LoRaWAN parameters.
RN2483A chip
The RN2483A module is in charge of sending / receiving LoRa packets to / from other LoRa modules. Thanks to the Command Reference User Guide the user can interact with the chip with ease, and take advantage of all the capabilities of the module.
The most useful commands are:
- sys reset: Resets the module.
- mac pause: Must be called before each LoRa transmission / reception. Returns the number of milliseconds the mac can be paused.
- radio set wdt X: Change the time-out length to X milliseconds. Set to 0 to disable the Watch Dog Timer.
- radio rx X: Puts the LoRa in receive mode for X milliseconds. If the wdt is lower than X, then after the wdt time-out reception will exit. For continuous receive mode, set X to 0 and disable the wdt.
- radio tx XX: Sends the hexadecimal values XX (up to 255 bytes for LoRa modulation) through LoRa.
Interacting with the RN2483A module
The LoRa click communicates with the ESP32 microcontroller through a PIC (Programmable Integrated Circuit), which converts the Serial communication (TX / RX) of the click to I2C of the ESP32 microcontroller.
As the PIC is programmed by Industrial Shields, a custom header library should be included in every project that involves the PIC. Thanks to this additional file, the LoRa click can be accessed using functions such as write, read or available. Please refer to the header for more information.
To test the functionality of the module, we can create an Arduino IDE sketch with the basic configuration:
#include <Adafruit_MCP23X17.h>
#include "HardwareSerialPicMkesp.h"

HardwareSerialPIC serialPIC = HardwareSerialPIC();
Adafruit_MCP23X17 mcp;

void setup() {
    // Baudrate for Serial port
    Serial.begin(115200);
    delay(100);

    // Initialize mcp
    mcp.begin_I2C();

    // Reset the LoRa module (active LOW)
    mcp.pinMode(3, OUTPUT);
    delay(100);
    mcp.digitalWrite(3, LOW);
    delay(100);
    mcp.digitalWrite(3, HIGH);

    // Start LoRa module
    serialPIC.begin(120, 17);

    // Flush the port
    while(serialPIC.available()) {
        Serial.print((char)serialPIC.read());
        delay(10);
    }
}

void loop() {
    if (Serial.available()) {
        byte rx = Serial.read();
        serialPIC.write(rx);
    }

    if (serialPIC.available()) {
        Serial.print((char)serialPIC.read());
    }
}
In the sketch, we first include the MCP23017 library , which will be used to access some pins of the expansion board, and the auxiliary header.
Then, we create the objects serialPIC, which will be our serial port to communicate with the RN2483A module, and the mcp, which through I2C communicates with the MCP23017 expansion chip to expand the I/Os of the ESP32 PLC 14.
In the setup function, we first initiate the Serial port and the mcp.
After that, we reset the LoRa module using pin 3 of the MCP23017 and we initiate the LoRa module at address 0x78 (120 in decimal) and 57600 baudrate (17, refer to HardwareSerialMkesp.h). The RN2483A has 57600 baud by default, so we need to configure the port accordingly.
Finally, we flush the serialPIC port for any remaining characters.
In the loop function, we send to the RN2483A module whatever we write in the serial port, and we also print on the Serial port whatever we receive from the LoRa module.
With that, we can interact directly with the click board and send data through LoRa. Just type the commands in the Serial monitor and hit enter (Make sure to have both NL & CR selected in the Arduino IDE Serial Monitor to send "/r/n" right after the message!).