Automatic Car Wash with PLC Arduino
Control of motors, pump, dose and timing with an Industrial PLC
Controller Arduino for industrial automation solutions
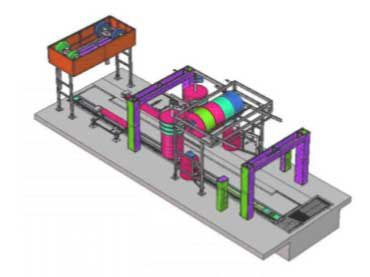
In this use case, an automatic car wash process is implemented. For this purpose, an industrial Arduino of the M-Duino family has been used as well as a set of sensors and actuators which are described below.
When a car enters the hall, a certain sequence has to be followed automatically. Its steps are:
1) Soaping
2) Washing
3) Drying
Minimising the use of water
Car washing is a simple activity done in order to keep the exterior of the car clean. It is mostly done manually in automobile garages or service centres of automobile companies.
This manual way of car cleaning means higher consumption of water, manpower and time. This data acquisition and understanding is key for an optimus installation and the best performance of an industrial application.
The automatic car washing system explained in this case study minimises the use of water and the manpower requirement as well. Our car washing system is controlled by a PLC Arduino, namely an industrial controller based on open source. To auto detect the car , load cells can be used as well as any other sensors as Infrared Sensor.
Soaping, washing and drying runs for a certain amount of time: a delay time must be generated for these outputs become mandatory, so three different timers are used. The use of motion sensors to detect when the vehicle reaches each phase could be used too.
Conclusion
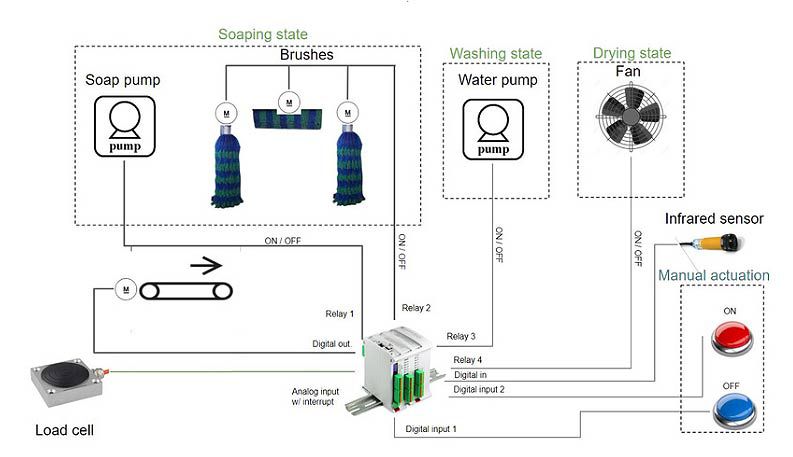
In this industrial automation, an engine is activated at the beginning of the circuit, when the load cell detects a weight similar to that of a vehicle. This engine activates the motor that controls the conveyor and starts counting the soap, washing and drying timers.
For the soaping, the programmable logic controller acts on the soap dosing pump.
Once the time is completed, the washing pump is activated. Simultaneously, a relay that controls the three motors of each brush is activated to scrub the car with soap.
Finally, when the third timer (the drying one) is activated, the fans are started up.
Finally, the conveyor takes the car to the end of the route; when it is detected by the limit switch, the entire process is closed.
Manual on / off buttons have been installed to stop or turn it on, when required.
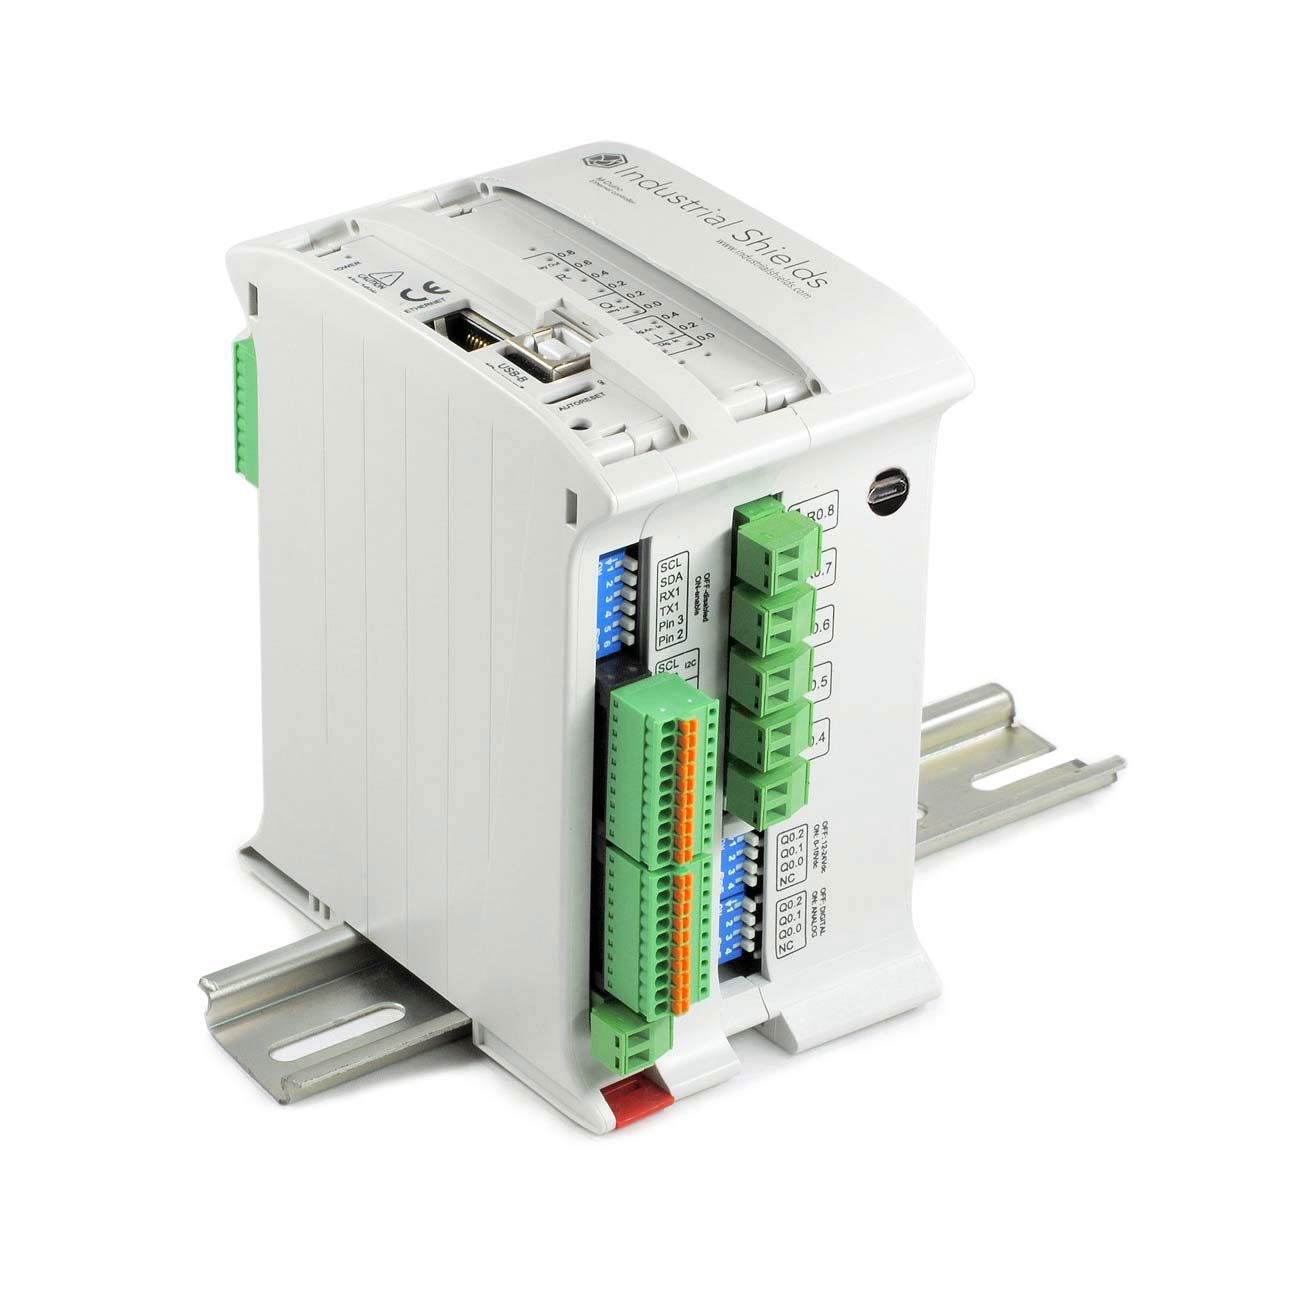
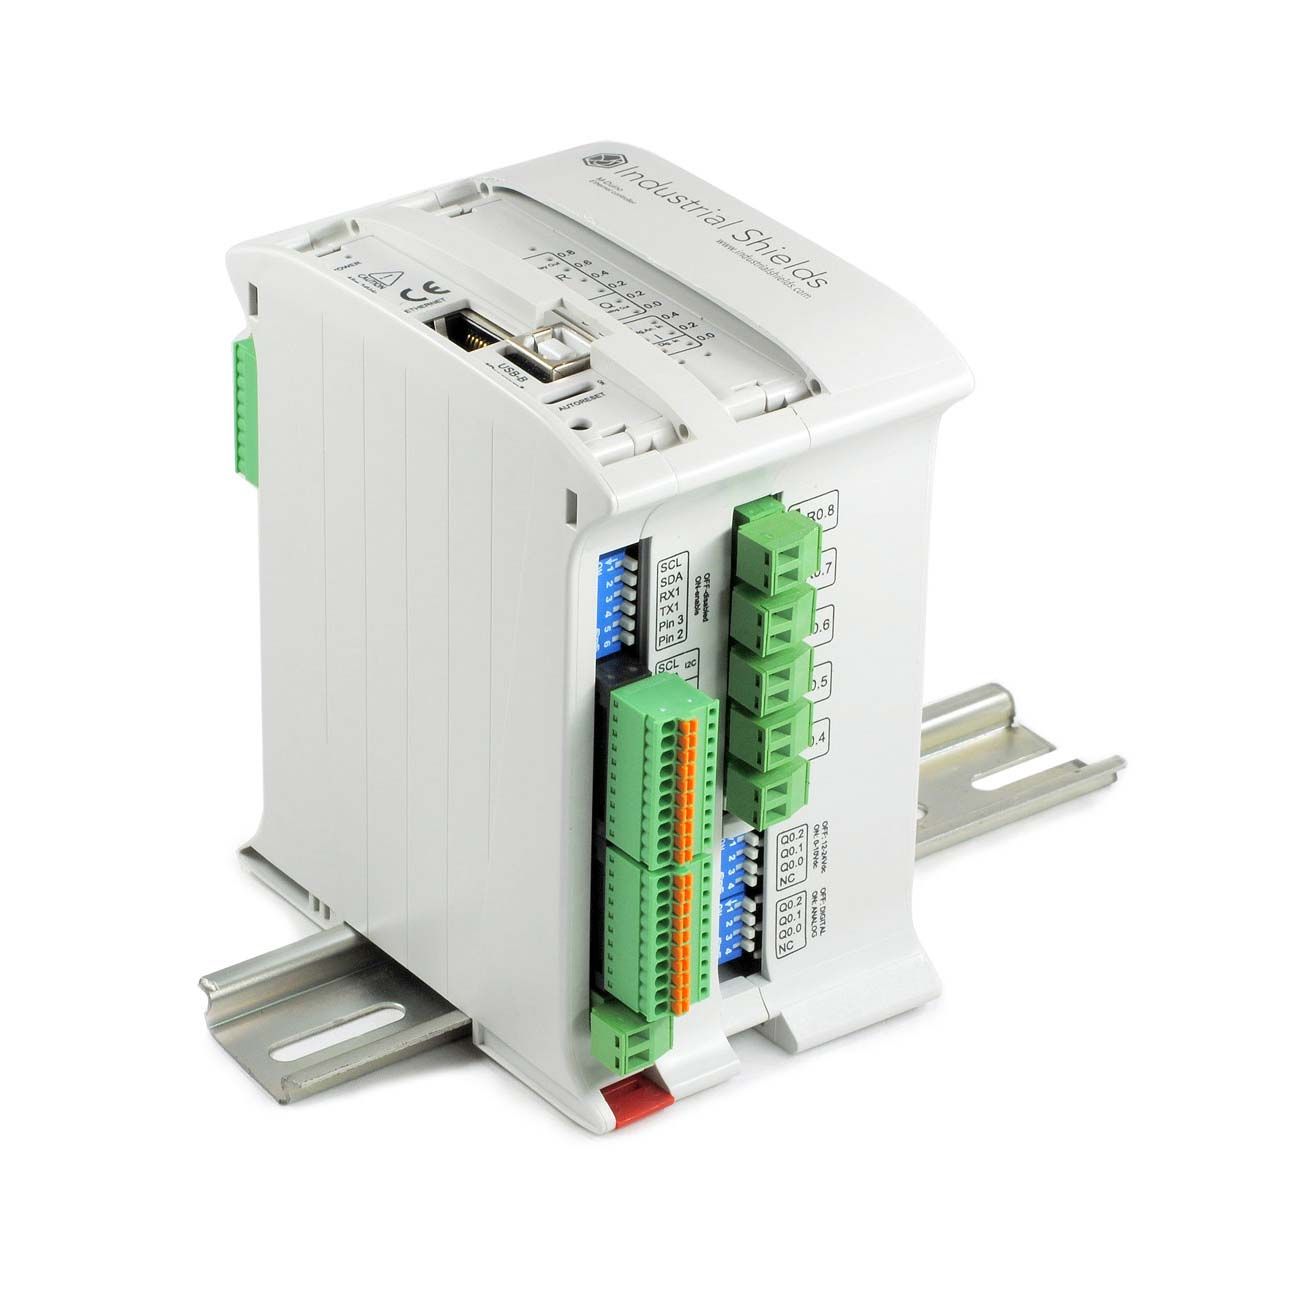
The M-Duino 19R is it one of the perfect equipments for this solution.
Analog, Digital, and for this particular installation, Relay.
Check the Arduino PLC M-Duino 19R >>
Do you want more information?
Just fill the form and we will send you several examples about how to use Open Source based devices on your projects.

