Introduction
The type of open-source license is becoming more and more common in industry 4.0. Whether they are open source projects, such as open-source hardware or open-source software, they turn out to be more and more searched words on Google.
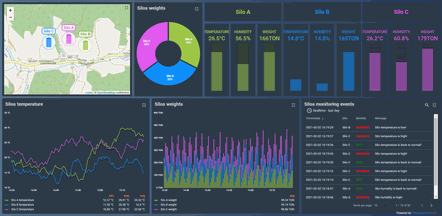
In today's post, we will create a dashboard for open-source software, such as ThingBoard.io, through which we can visualize the data of our application with IoT through MQTT.
Latest Posts
Requirements
MQTT
MQTT is an OASIS standard messaging protocol for the Internet of Things (IoT). It is designed as an extremely lightweight publish/subscribe messaging transport that is ideal for connecting remote devices with a small code footprint and minimal network bandwidth. MQTT today is used in a wide variety of industries, such as automotive, manufacturing, telecommunications, oil and gas, etc.
DASHBOARD
A dashboard is an information management tool used to track, analyze, and display key performance indicators, metrics, and data points such as sensor values, among others.

THINGSBOARD
ThingsBoard is an open-source IoT platform for data collection, processing, visualization, and device management.
It enables device connectivity via industry standard IoT protocols - MQTT, CoAP and HTTP and supports both cloud and on-premises deployments. ThingsBoard combines scalability, fault-tolerance and performance so you will never lose your data.
Tutorial
So, once we know what is the ThingsBoard open-source platform, let's follow these steps in order to create our dashboard:
- Install ThingsBoard on industrial Raspberry PLC >
- Install Docker:
- sudo apt-get update && sudo apt-get upgrade
- curl -sSL https://get.docker.com | sh
- sudo usermod -aG docker ${USER}
- groups ${USER}
- Start with ThingsBoard >
- Follow step 1
- Follow step 2
- Select MQTT
- Install Mosquitto in your industrial Raspberry Pi PLC
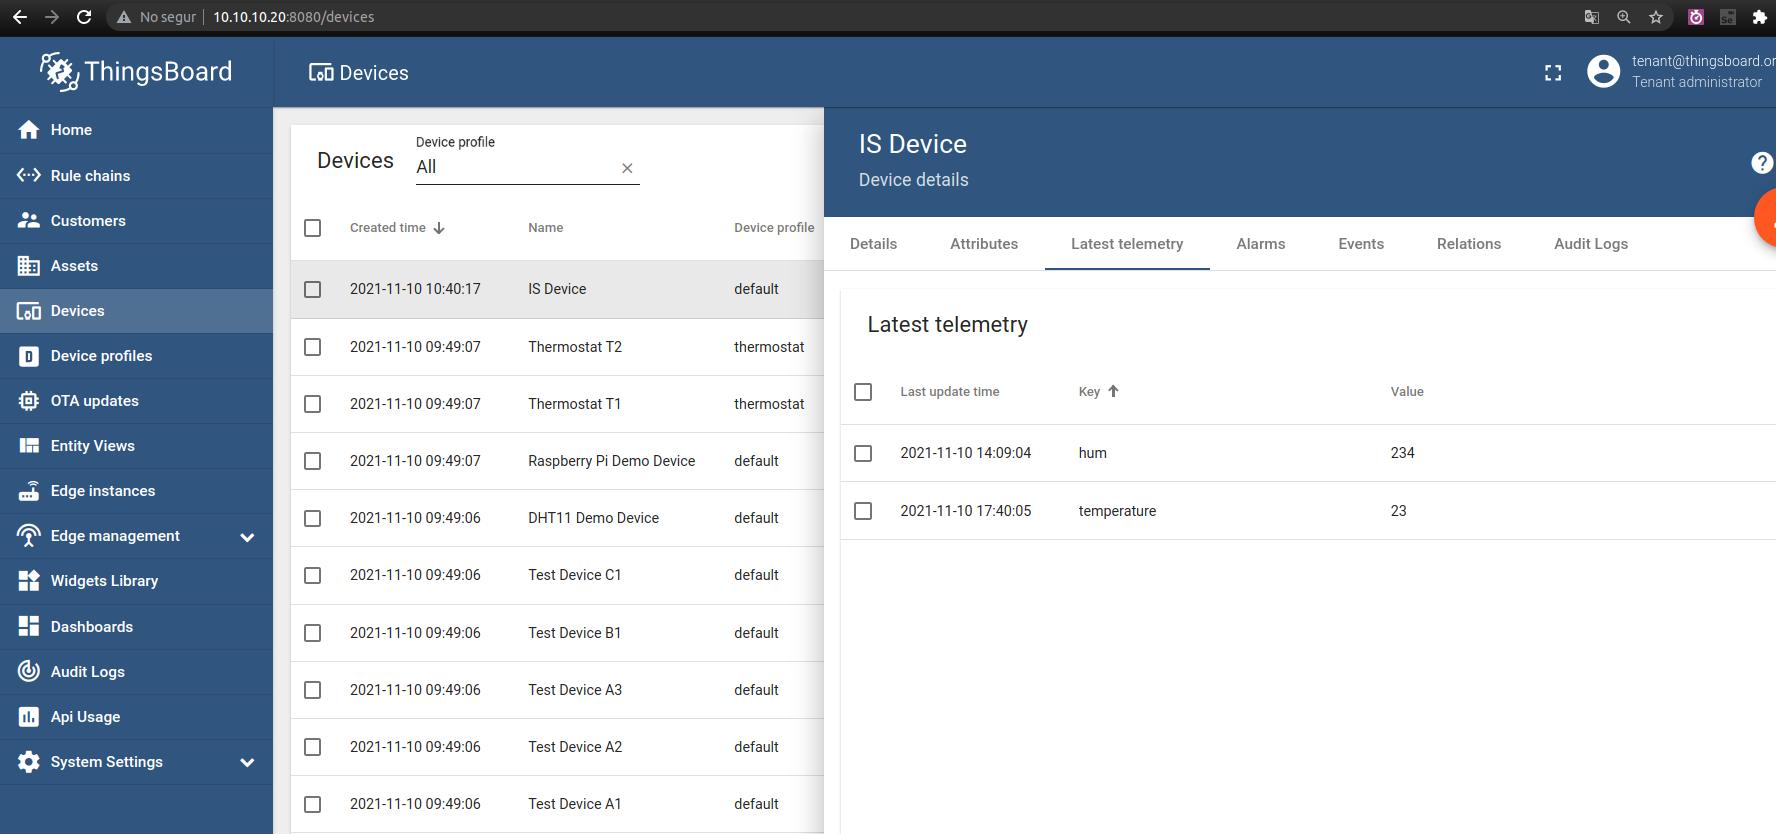
From your Raspberry Pi industrial PLC with the Mosquitto installed, you will have to run the following command:mosquitto_pub -d -q 1 -h "IP-HOST-ADDRESS-HERE" -p "1883" -t "v1/devices/me/telemetry" -u "ACCES-TOKEN-HERE" -m MESSAGE-HEREIf you go to "Devices", in the line where your device is, there is a shield at the right-side. If you select "Access token", you can modify it or get it from there in order to set it after the -u parameter.In the -h parameter, add the hostname. In our case, we will set the IP address of the open source PLC Raspberry Pi: 10.10.10.20.
So:
mosquitto_pub -d -q 1 -h "10.10.10.20" -p "1883" -t "v1/devices/me/telemetry" -u "is-access-token" -m {"temperature":23}

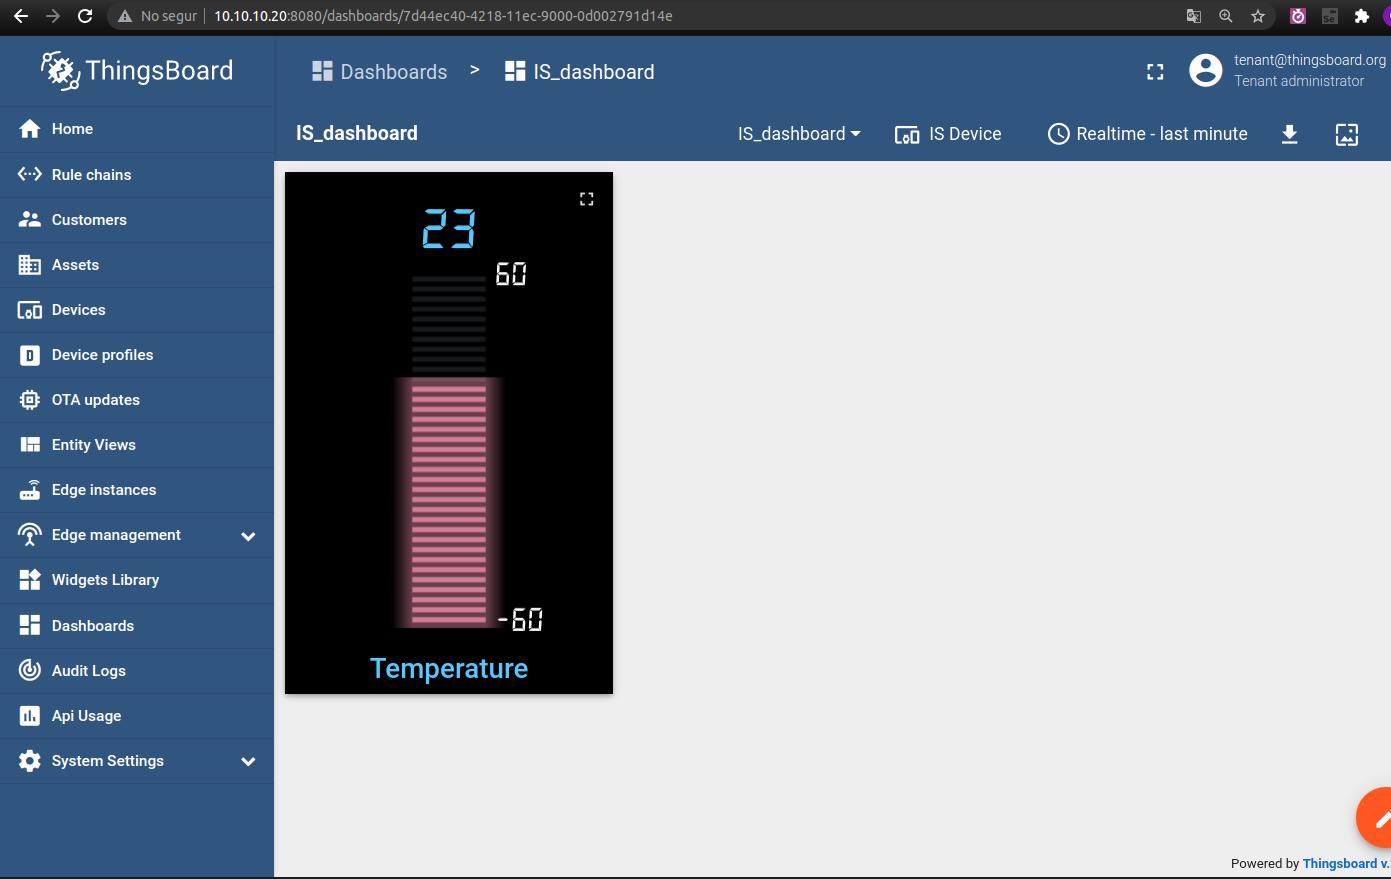
Go back to your PC and follow the steps until step 3.4, in order to add a chart widget with the incoming data from MQTT.

Create an IoT ThingsBoard Dashboard with Raspberry Pi PLC & MQTT