Introduction
If you have uploaded a sketch to your PLC Arduino for industrial automation and now it detects it as an unknown device... or you have tried to burn the bootloader (see the related link) and it did not work, here you have the solution.
Related link
Solution
The first step is to close all the Arduino IDE windows and, if possible, reboot the PC although this is not always necessary. All these actions must be done with the PLC controller disconnected from the USB port of the PC.
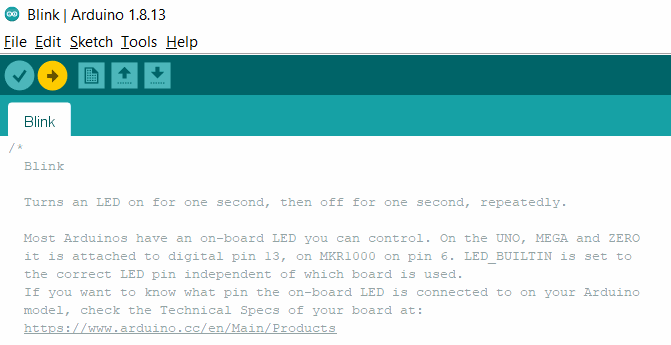
The second step is to open a demo code, for example, the most basic one, the LED Blink. Here you have the Blink code:
/*
  Blink

  Turns an LED on for one second, then off for one second, repeatedly.

  Most Arduinos have an on-board LED you can control. On the UNO, MEGA and ZERO
  it is attached to digital pin 13, on MKR1000 on pin 6. LED_BUILTIN is set to
  the correct LED pin independent of which board is used.
  If you want to know what pin the on-board LED is connected to on your Arduino
  model, check the Technical Specs of your board at:
  https://www.arduino.cc/en/Main/Products

  modified 8 May 2014
  by Scott Fitzgerald
  modified 2 Sep 2016
  by Arturo Guadalupi
  modified 8 Sep 2016
  by Colby Newman

  This example code is in the public domain.

  http://www.arduino.cc/en/Tutorial/Blink
*/

// the setup function runs once when you press reset or power the board
void setup() {
  // initialize digital pin LED_BUILTIN as an output.
  pinMode(LED_BUILTIN, OUTPUT);
}

// the loop function runs over and over again forever
void loop() {
  digitalWrite(LED_BUILTIN, HIGH);   // turn the LED on (HIGH is the voltage level)
  delay(1000);                       // wait for a second
  digitalWrite(LED_BUILTIN, LOW);    // turn the LED off by making the voltage LOW
  delay(1000);                       // wait for a second
}
Once we have it on the application window, you have to connect your Arduino automation PLC controller via USB and quickly open the tools menu. You will see that it will be detected there and you will have to select the correct Board and Model and the correct Port:
It will disappear in a moment but do not worry, it is normal. If you go back to the tools menu, you will see that you do not have anyone selected but do not click on anything, so the next time you connect or reboot the device it will be automatically selected.
Now, click the Upload button and you will see that the compilation is starting. Then wait 2 seconds and push the Reset Arduino button of your programmable logic controller. In case you cannot find the Reset button, you can disconnect the USB from the PC, click the Upload button and then connect the USB just after a while.
This method usually works because Arduino makes a boot just after uploading the sketch in its memory and, right at this moment, when the system starts up, that is when it appears (to the PC) to be identified as an Arduino and not as another USB device. You have to take advantage of this moment and upload the program to the memory to replace the defective program. The key is that, after the compilation, the program is sent to Arduino and you have to make sure that, the two seconds that it appears as an Arduino in the Port menu, match with the moment when the program is uploaded after the compilation. As it is a small sketch, it takes a minimum of time to be uploaded and the board is reprogrammed.


How to repair an industrial PLC bricked by a sketch