Introduction
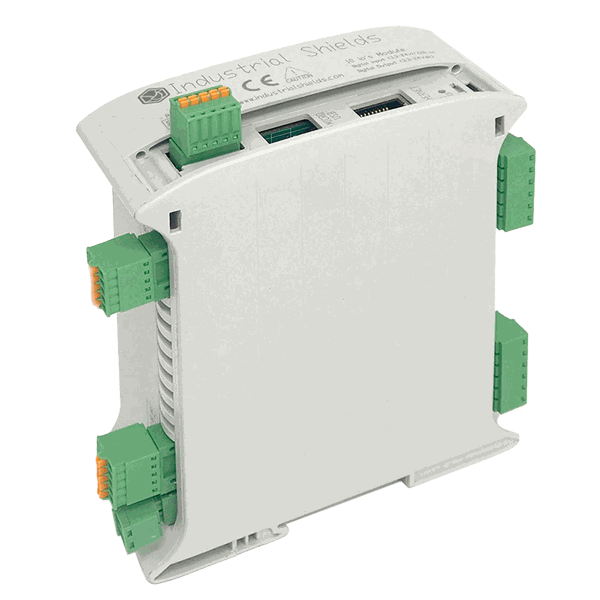
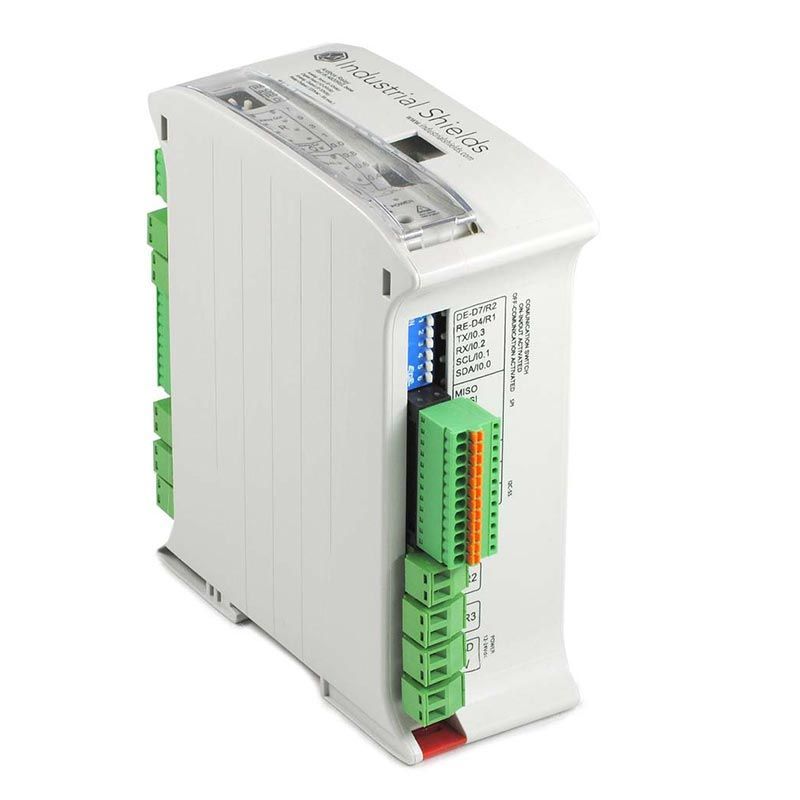
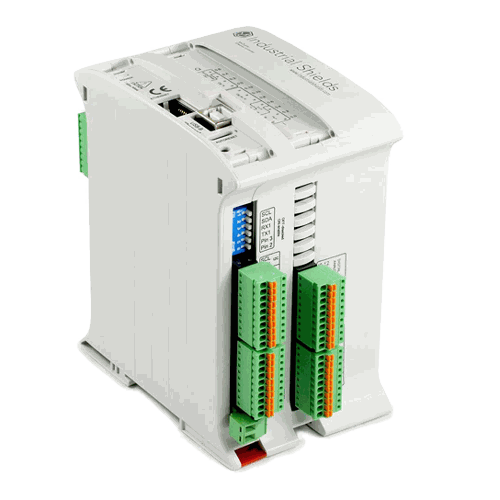
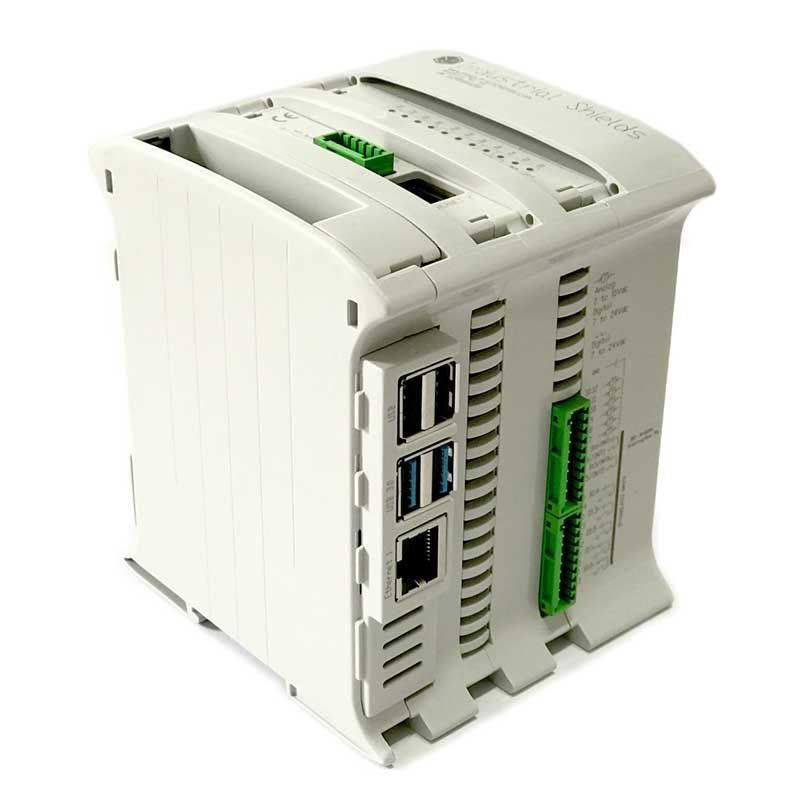
In this post, we will show you an example of how to control a Motor with the Contactor 9A and one of our industrial Arduino controllers. You need to use a PLC with a relay output, so it's necessary to use our PLC Arduino Ardbox 20 I/Os RELAY HF or any of our M-Duino boards with a RELAY output.
Considering that we need to process a huge amount of data we will use an M-Duino controller since it has a faster processor than Ardbox (M-Duino are implemented with Mega, Ardbox with Leonardo) and an SD card to store data.
Requirements
Contactor 9A
Specifications:
| (Ue) Rated Operating Voltage | <= 300 V CC <= 690 V AC 25...400 Hz | |||||
| (Ie) Rated Operating Current | 25 A (<= 60 °C) at Ue <= 440 V CA AC-1 9 A (<= 60 °C) at Ue <= 440 V CA AC-3 | |||||
| [Ith] conventional free air thermal current | 25 A at <= 60 °C for power circuit 10 A at <= 60 °C for signalling circuit | |||||
| (Ui) Rated Insulation Voltage | 600 V | |||||
| Electrical Durability | 0.6 Mcycles 25 A AC-1 at Ue <= 440 V 2 Mcycles 9 A AC-3 at Ue <= 440 V | |||||
| (Uc) Control Circuit Voltage | 24 V DC | |||||
| Mechanical Durability | 30 Mcycles | |||||
| [Uimp] rated impulse withstand voltage | 6 kV conforming to IEC 60947 | |||||
| Overvoltage category | III | |||||
| [Icw] rated short-time withstand current | 105 A <= 40 °C 10 s power circuit 210 A <= 40 °C 1 s power circuit 30 A <= 40 °C 10 min power circuit 61 A <= 40 °C 1 min power circuit 100 A 1 s signalling circuit 120 A 500 ms signalling circuit 140 A 100 ms signalling circuit | |||||
| Average impedance | 2.5 mOhm at 50 Hz - Ith 25 A for power circuit | |||||
| Power dissipation per pole | 0.2 W AC-3 1.56 W AC-1 | |||||
| Control circuit voltage limits | 0.1...0.3 Uc drop-out at 60 °C, DC 0.8...1.25 Uc operational at 60 °C, DC | |||||
| Time constant | 40 ms | |||||
| Signalling circuit frequency | 25...400 Hz | |||||
| Minimum switching voltage/current | 17 V / 5 mA for signalling circuit | |||||
| Height | 77 mm | |||||
| Depth | 95 mm | |||||
| Width | 45 mm | |||||
| Weight | 0,48 kg |


Contactor 9A and M-Duino Industrial Arduino PLC