Introduction
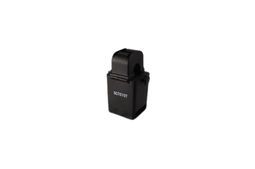
Do you have an SCT010T-D and want to read the current of an AC installation?
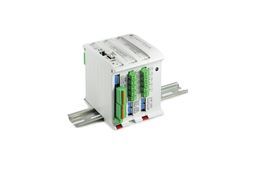
In this post you will learn how to connect it to the open source based M-Duino PLC and read the values of an analogue input.

Requirements
Preparing the work environment
The first thing you have to do is to connect the sensor to the PLC controller on any analogue input you want. It is important to connect the -L wire to GND and the +K to the input itself.
Next, open the Arduino IDE, connect the M-Duino PLC to your computer and select the correct board and port. If you have any doubts, check the following links:
Step-by-step current measurement
1. Paste this code into your Arduino sketch:
uint8_t port = I0_5;
double resolution = 5 / (pow(2, 10) - 1); // 0,0485436893204 V
void setup() {
    Serial.begin(9600L);
    analogReference(DEFAULT);
}
void loop() {
    float sensorV = analogRead(port) * resolution;
    float curr = sensorV * 5 / 5; // relation 5A/5V
    Serial.print(curr, 6); Serial.println(" A");
    delay(500);
}
The resolution is the minimum voltage that the sensor can send to the M-Duino, with 5V being the maximum and 10 being the range bits of the analogue input. So, in this case, 48.54 mV is the resolution. Multiplying the sensor value by it, we get the voltage measured by the sensor. Then we have to multiply it with the sensor ratio, 5A/5V for the SCT010T-D, so we get the Amps with the conversion factor. Also, 5 Amps is the maximum current the sensor can measure, so keep that in mind.
Change the port variable to the analogue input you are going to use. In the example, I0_5 is used. If you have a different sensor, consult your documentation for the conversion formula. The delay can also be changed.
2. Now compile the sketch and upload it to your M-Duino industrial PLC.
Once the sketch has been uploaded, open the serial monitor and read the current that the sensor is receiving.

And that's it!
A very simple way to read values from a non-invasive current sensor using an Arduino-based industrial controller for industrial automation.


Reading current values from SCT010T-D with M-Duino PLC