
Introduction
Requirements
Any of our ESP32 based PLCs can be used here:
Example Code
 /*
   Copyright (c) 2022 Boot&Work Corp., S.L. All rights reserved
   This program is free software: you can redistribute it and/or modify
   it under the terms of the GNU Lesser General Public License as published by
   the Free Software Foundation, either version 3 of the License, or
   (at your option) any later version.
   This program is distributed in the hope that it will be useful,
   but WITHOUT ANY WARRANTY; without even the implied warranty of
   MERCHANTABILITY or FITNESS FOR A PARTICULAR PURPOSE.  See the
   GNU Lesser General Public License for more details.
   You should have received a copy of the GNU Lesser General Public License
   along with this program.  If not, see <http://www.gnu.org/licenses/>.
 */
#include <WiFi.h>
const char* ssid     = ""; //Put here the Wi-Fi ssid
const char* password = ""; //Put here the Wi-Fi password
const char* host = "www.industrialshields.com";
const char* streamId   = "....................";
const char* privateKey = "....................";
void setup()
{
    Serial.begin(9600);
    delay(10);
    // We start by connecting to a WiFi network
    Serial.println();
    Serial.println();
    Serial.print("Connecting to ");
    Serial.println(ssid);
    WiFi.begin(ssid, password);
    while (WiFi.status() != WL_CONNECTED) {
        delay(500);
        Serial.print(".");
    }
    Serial.println("");
    Serial.println("WiFi connected");
    Serial.println("IP address: ");
    Serial.println(WiFi.localIP());
}
int value = 0;
void loop()
{
    delay(5000);
    ++value;
    Serial.print("connecting to ");
    Serial.println(host);
    // Use WiFiClient class to create TCP connections
    WiFiClient client;
    const int httpPort = 80;
    if (!client.connect(host, httpPort)) {
        Serial.println("connection failed");
        return;
    }
    // We now create a URI for the request
    String url = "/input/";
    url += streamId;
    url += "?private_key=";
    url += privateKey;
    url += "&value=";
    url += value;
    Serial.print("Requesting URL: ");
    Serial.println(url);
    // This will send the request to the server
    client.print(String("GET ") + url + " HTTP/1.1\r\n" +
                 "Host: " + host + "\r\n" +
                 "Connection: close\r\n\r\n");
    unsigned long timeout = millis();
    while (client.available() == 0) {
        if (millis() - timeout > 5000) {
            Serial.println(">>> Client Timeout !");
            client.stop();
            return;
        }
    }
    // Read all the lines of the reply from server and print them to Serial
    while(client.available()) {
        String line = client.readStringUntil('\r');
        Serial.print(line);
    }
    Serial.println();
    Serial.println("closing connection");
}
The configuration parameters have to be defined; the Wi-Fi ssid and password as well as the host to send the HTTP GET request to make a quick test:
const char* ssid     = ""; //Put here the Wi-Fi ssid
const char* password = ""; //Put here the Wi-Fi password
const char* host = "www.industrialshields.com";

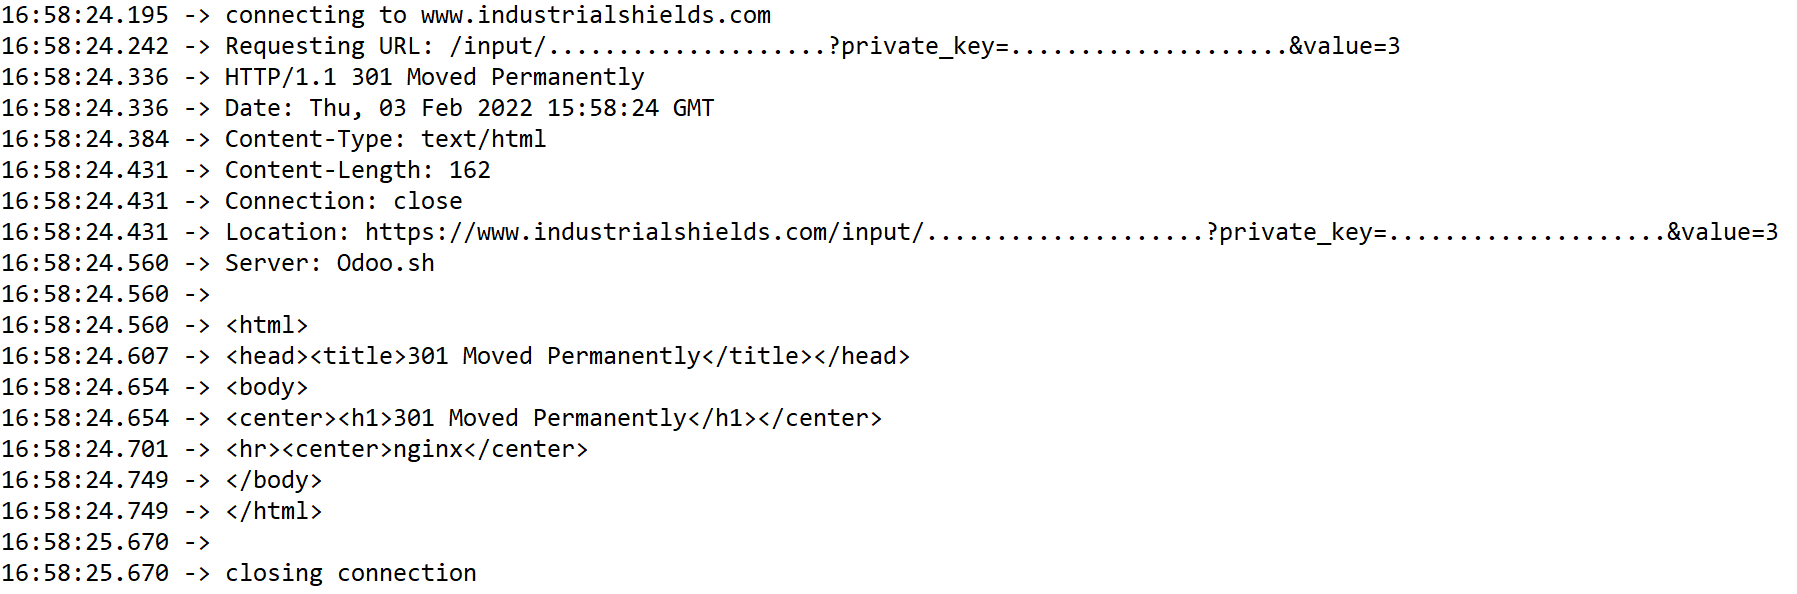
In the loop part you can execute your required function using the Wi-Fi. In this case, as an example, an HTTP GET request is sent to the host server (as an example, our webpage is used) and all the lines of the reply are printed on the Serial Monitor:
Note: Take into account that, if you are using an M-Duino W-Fi & BLE PLC, the Arduino shield and the ESP32 are connected through the Serial1 port of the Arduino <-> Serial2 port of the ESP32. If you want to monitorize this information with the ESP32 you can use the same configuration shown in this post. But, if you want to print the messages on the Serial Port of the M-Duino, you have to configure the code to read the data received through the Serial1 and print it by the Serial. You can find more information about that in this other post:
ESP32 / Bluetooth / BLE / WiFi
How to connect your ESP32 based PLC to Wi-Fi