Programando Arduino en Ambientes Industriales
Curso de 10 Capítulos de Contenido General [IS.AC001.GC]
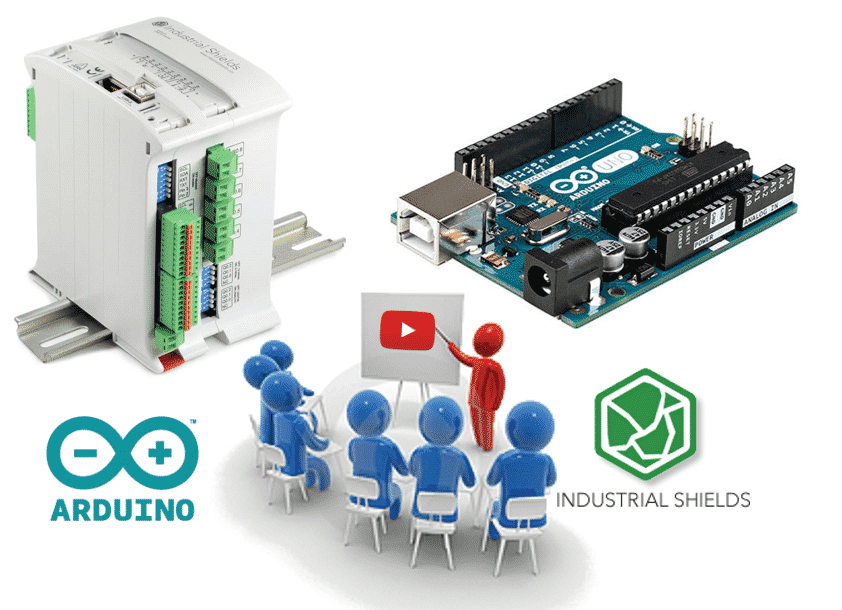
MATERIAL BÁSICO PARA DESARROLLAR UN PROYECTO INDUSTRIAL CON ARDUINO
Imagino que ya sabrás qué es Arduinopor lo que en este curso nos centraremos en cómo utilizar en entornos industriales placas Arduino y los PLCs basados en Arduino para realizar proyectos un 30% más rápido.
Utilizando diferentes herramientas simples conseguirás sacar un alto rendimiento a la programación de Arduino y a la creación de proyectos con Arduino. El tiempo en un proyecto industrial es dinero por lo que te vamos a mostrar cómo ahorrar un 30% de tu tiempo.
- Verifica y evalúa las diferentes variables y señales conectadas a tu PLC con una interfaz gráfica.
- Utiliza ejemplos ya creados para no tener que empezar desde cero. (Si, ejemplos, no hace falta que el código inicial sea tuyo. Existen muchos ejemplos válidos para desarrollar tu proyecto)
- Utiliza librerías para tus funciones estándar.
(Recuerda: Para nosotros un PLC funciona cómo una placa Arduino. Nuestros PLCs utilizan placas Arduino originales por lo que puedes probar este curso utilizando placas Arduino originales).
Prepara este material en tu ordenador para empezar el capítulo 1.
Utilizando una una simple plataforma gráfica se puede visualizar el estado del PLC cómodamente y de forma amigable. Esta también la puedes utilizar como SCADA en tu proyecto y lo podrás integrar en tus proyectos como interfaz Hombre-Maquina. Simple, fácil y sin coste. Te recomendamos utilizar una plataforma Open Source llamada PROCESSING. (El Arduino IDE se basa en esta plataforma por lo que te resultará muy familiar).
Utiliza el Arduino IDE para programar tu PLC. Repasar los diferentes ejemplos del Arduino IDE ayuda para no tener que empezar desde cero tu proyecto. Con el Arduino IDE sólo tienes que seleccionar la placa Arduino que utilizas y el puerto USB en el que está conectado el equipo.
Para la configuración de las diferentes entradas y salidas utilizando los PLCs Industrial Shields puedes utilizar nuestra librería almacenada en GitHub y olvidarte de revisar el pinout de los equipos. Consulta cómo cargar la librería en nuestro post del blog.blog.
CONECTAR UNA PLACA ARDUINO AL ORDENADOR
It is necessary to know 2 essentials things:
Using Processing it is available to have a Graphical Interface done easily and simple which let us monitoring and interact with the PLC and controlling all your installation.
The Arduino IDE let us use libraries where calling our standard algorithms and develop a structured program. We encourage you to see the current version of the original Industrial Shields library from GitHub so you can see how the folders are structured. In the following chapters, we will see how to develop a library and how to call them using the Arduino IDE.
(Remember: Industrial Shields PLCs are working as Original Arduino boards. Our PLCs have original Arduino boards assembled inside. Then, you can practice the course using an Original Arduino board).
Useful Links:
Material to do practices:
- Arduino Leonardo or Arduino Mega (You also can use an Arduino UNO if you get it).
(The devices used with the Arduino Mega and Arduino Leonardo assembled inside have been: From the Ethernet PLCs; the M-duino21. From the 20I/Os PLC; The Ardbox Relay
).
ENTRADAS
It is necessary to know some essentials things:
You can do the course practices using an original Arduino board. In fact, our PLCs have an original Arduino board assembled inside, So, it is not necessary to do practices using our devices if you don’t want. You can use an Arduino Leonardo board, which is the board used in our 20I/Os PLCs (they are called: Ardbox) and you also can use an Arduino Mega which is used inside the Ethernet family of PLCs (called M-duino).
Connection Alert:
It is important to note that Arduino works at 5Vdc, then you can not connect industrial sensors directly on an Input on the Arduino board because industrial sensors usually work at 24Vdc. On the other hand, all Arduino based PLCs can be connected to an industrial sensor because all digital inputs can run from 5Vdc to 24Vdc.
(Remember: Industrial Shields PLCs are working as Original Arduino boards. Our PLCs have original Arduino boards assembled inside. Then, you can practice the course using an Original Arduino board)
If you need to connect analog sensors, remember that the analog inputs from the Arduino boards work from 0 to 5Vdc. And you can not connect higher voltages. On the other hand in the industry, it is usually to use analog sensors which work at 4-20mA or 0-10Vdc. Then, convert the current signal to voltage is very easy if you use the Ohm formula: V=IxR, you can see an example of how to convert 4-20mA to 0-10Vdc at our blog.
Useful Links:
Material to do practices:
- Arduino Leonardo or Arduino Mega (You also can use an Arduino UNO if you get it).
(The devices used with the Arduino Mega and Arduino Leonardo assembled inside have been: From the Ethernet PLCs; the M-duino21. From the 20I/Os PLC; The Ardbox Relay
)
SALIDAS
Habilidades básicas:
Puedes llevar a cabo las prácticas del curso utilizando una placa original de Arduino. De hecho, nuestros PLCs llevan una placa Arduino original montada en su interior. Por lo tanto, no es necesario para hacer las prácticas que uses uno de nuestros dispositivos si no quieres. Puedes utilizar una placa Arduino Leonardo, la cual es la usada en nuestras PLCs de 20 E/S (llamadas Ardbox) y también puedes utilizar un Arduino Mega, usado en nuestra família de PLCs con Ethernet (llamada M-Duino).
Connection Alert:
The outputs from the PLCs provide Voltaje when the state is defined as a HIGH level. Then it is necessary to keep in mind the polarity of the different types of devices connected to the outputs. The voltage provided from the none Optoisolation outputs is the same voltage connected at the PLC as a powering. It means that if the PLC is powered at 12Vcc the outputs work at 12Vcc and 24Vcc if the power supply is 24Vcc. It is also important to join the negative signal as shown on the PLC. To define the level of the outputs it is necessary to use the sentence: DigitaWrite().
(Remember: Industrial Shields PLCs are working as Original Arduino boards. Our PLCs have original Arduino boards assembled inside. Then, you can practice the course using an Original Arduino board)
The analog outputs are programmed exactly as the PWM outputs. Arduino works at 5Vcc but the outputs from the PLC depends on the Voltage connected to the PLC. The Analog outputs work at 0-10Vdc as standardized on the industry. The analog output resolution is 8 bits then you can configure using the sentence AnalogWrite() a value from 0 to 255.
- Links de interés:
Material to do practices:
- Arduino Leonardo or Arduino Mega (You also can use an Arduino UNO if you get it).
(Los dispositivos que utilizan un Arduino Mega o un Arduino Leonardo montados en su interior son: De las PLCs con Ethernet: M-Duino 21. De las PLCs con 20 E/S: Ardbox Relay).
Do you want to continue the course?...for free!!!
If you are interested in receive the next chapters for free just fill the form.
You will receive a weekly chapter to program Arduino on industrial uses.
Industrial Applications can run under Open Source Platforms