
Index
Introduction
In this post we are going to see how to introduce ourselves to the GPRS programming in the Arduino IDE, highlighting the first steps to do to configure and use it properly and functionally in this module.
First Steps for programming the GPRS Module with Arduino IDE
1. Introduce the SIM card
We will proceed to deposit the SIM card correctly to the PLC. To do this, you must first locate the SIM card entry of the PLC, which is located on the top cover of the device. You will be able to see the symbol for the SIM card on the screen printing; the entrance is just below. To enter the card, you must do it as shown in the following images:

2. Software configuration
We have to follow these points to ensure the correct behavior of the GPRS:
1.- Select the right family and model of the Boards (the GPRS family and model that you have)


GPRS
2.- Be sure to import the GPRS.h header, which is included in our Boards and was developed by our programmers:
#include <GPRS.h>
Here you have a post about how to install our Boards:
3.-It is very important to implement certain functions like the one used for enabling the module if they are needed in your program:
GPRS.enableGPRS(APN, USERNAME, PASSWORD)
If you want to see all the GPRS functions available, you can check the proper documentation when you download the Boards.
Examples of how to use the GPRS Module
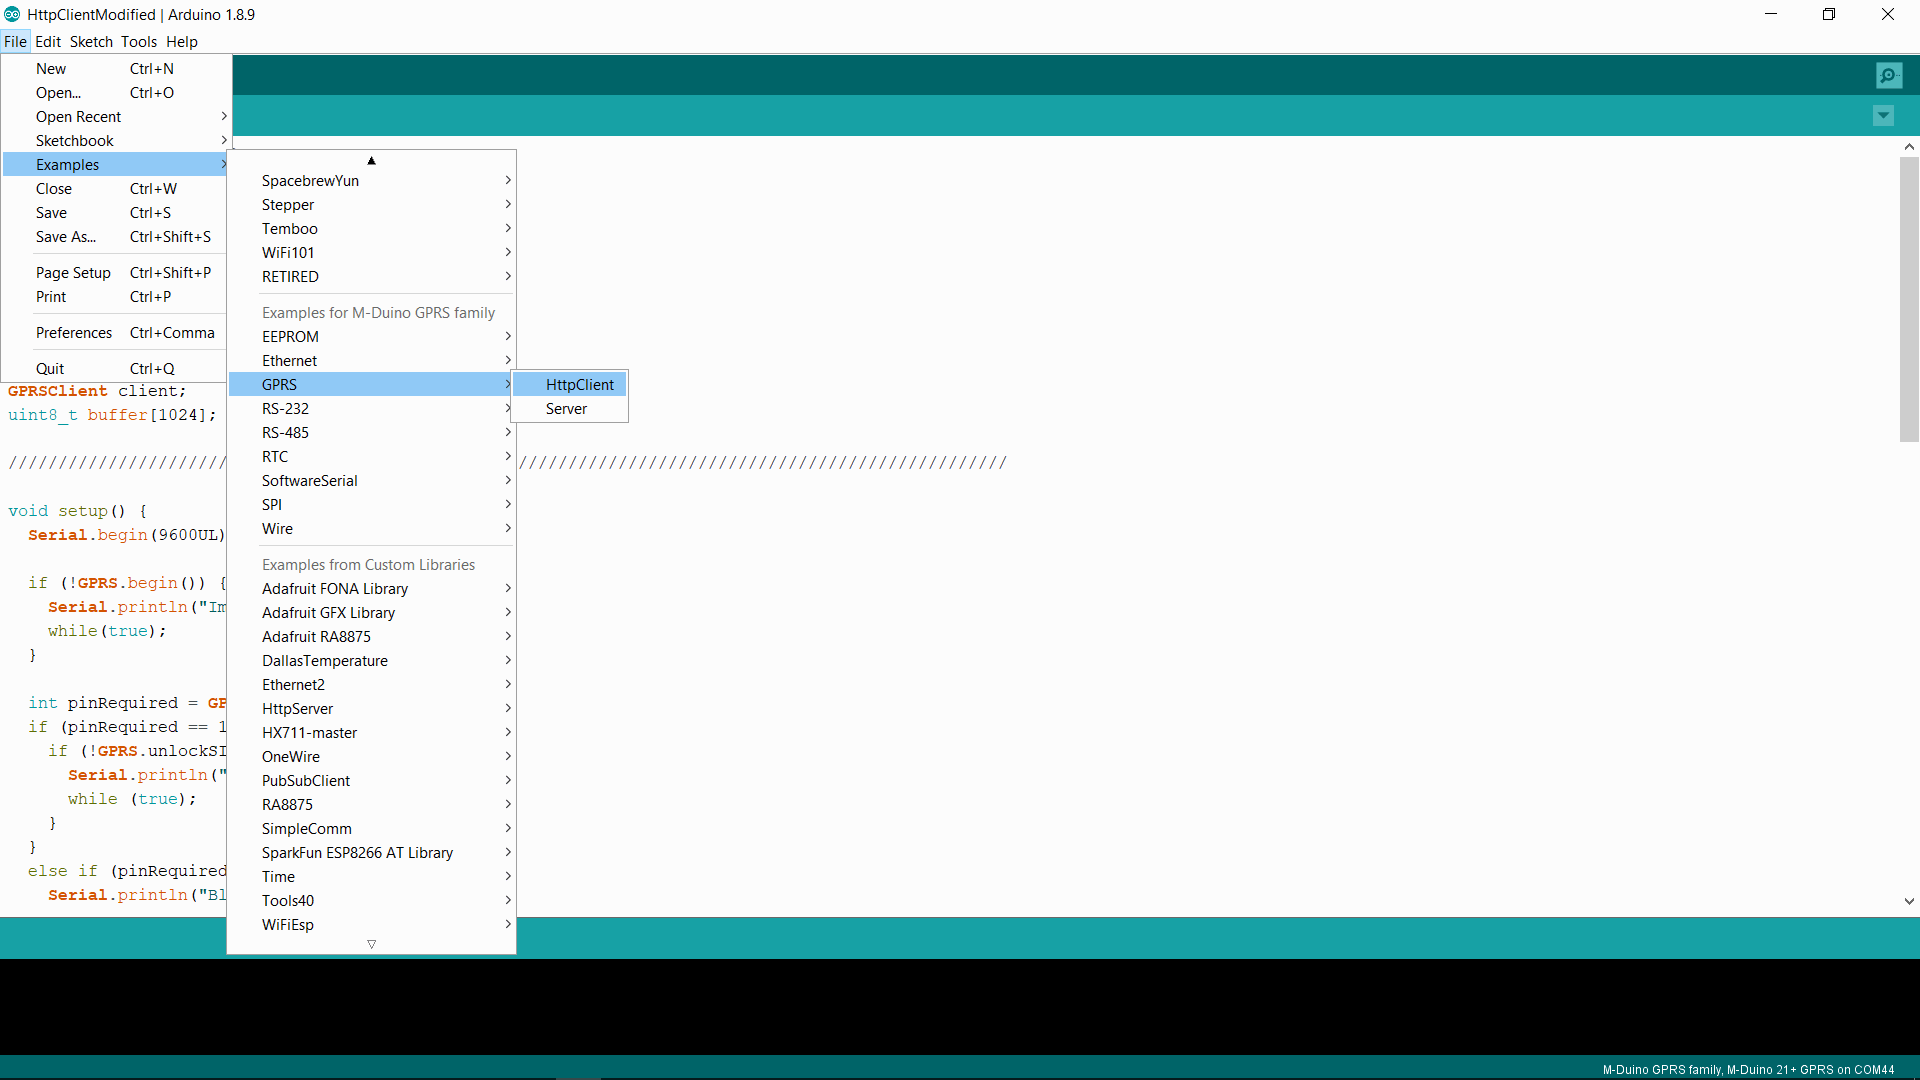
Now that we know the main steps, we will see two examples of how to use the GPRS Module. You can find both in the GPRS examples of the boards in the Arduino IDE:
Server
First of all, you have to define the parameters of your SIM card (PIN, APN, USERNAME, PASSWORD). They depend on the phone company of the card, you can find them on the Internet or contact directly the company if you do not have them. This program is a simple example of a server. In the setup block, it looks if a PIN number is required and, if it is, it checks if it is correct and unlocks the SIM. In the loop block, the program executes every 3 seconds the following parameters; it checks if the NetworkStatus is 1 (Registered(home)) or 5 (Registered(roaming)) if it is one of these, it enables the GPRS (if it is not enabled yet) and, if a client is available what means connected to the server, it writes on the Serial Port (Serial Monitor) the message that the client sent.
Here you have the code:
// GPRS library example
// by Industrial Shields
#include <GPRS.h>
#define PIN ""
#define APN ""
#define USERNAME ""
#define PASSWORD ""
uint8_t buffer[1024];
int networkStatus = -1;
////////////////////////////////////////////////////////////////////////////////////////////////////
void setup() {
  Serial.begin(9600UL);
  if (!GPRS.begin(80)) {
    Serial.println("Impossible to begin GPRS");
    while(true);
  }
  int pinRequired = GPRS.isPINRequired();
  if (pinRequired == 1) {
    if (!GPRS.unlockSIM(PIN)) {
      Serial.println("Invalid PIN");
      while (true);
    }
  }
  else if (pinRequired != 0) {
    Serial.println("Blocked SIM");
    while (true);
  }
}
////////////////////////////////////////////////////////////////////////////////////////////////////
void loop() {
  static uint32_t lastStatusRead = millis();
  if (millis() - lastStatusRead > 3000) {
    networkStatus = GPRS.getNetworkStatus();
    lastStatusRead = millis();

    if (networkStatus == 1 || networkStatus==5) {

      if (!GPRS.enableGPRS(APN, USERNAME, PASSWORD)){
        GPRS.enableGPRS(APN, USERNAME, PASSWORD);
      }
      else{
        GPRSClient client = GPRS.available();
        if (client) {
          size_t len = client.available();
          if (len > 0) {
            client.read(buffer, len);
            Serial.write(buffer, len);
          }
        }
      }
    }
  }

    switch (networkStatus) {
      case 0:
        Serial.println("Not registered");
        break;
      case 1:
        Serial.println("Registered (home)");
        break;
      case 2:
        Serial.println("Not registered (searching)");
        break;
      case 3:
        Serial.println("Denied");
        break;
      case 4:
        Serial.println("Unknown");
        break;
      case 5:
        Serial.println("Registered (roaming)");
        break;
  }
}
Client
First of all, you have to define the parameters of your SIM card (PIN, APN, USERNAME, PASSWORD). They depend on the phone company of the card, you can find them on the Internet or contact directly the company if you do not have them. This program is a simple example of an HTTP client. In the setup block, it looks if a PIN number is required and, if it is, it checks if it is correct and unlocks the SIM. In the loop block, the program executes every 2 seconds the following parameters; it checks if the NetworkStatus is 1 (Registered(home)) or 5 (Registered(roaming)), if it is one of these, it proceeds to check the GPRSstatus if it is 1 (GPRS connected) it checks if the client is connected and send some messages to the server. After this, if the client is available, the program writes the previous messages in the Serial Port (Serial Monitor) to check them all.
Here you have the code:
// GPRS library example
// by Industrial Shields

#include <GPRS.h>

#define PIN ""
#define APN ""
#define USERNAME ""
#define PASSWORD ""

GPRSClient client;
uint8_t buffer[1024];

////////////////////////////////////////////////////////////////////////////////////////////////////

void setup() {
  Serial.begin(9600UL);

  if (!GPRS.begin()) {
    Serial.println("Impossible to begin GPRS");
    while(true);
  }

  int pinRequired = GPRS.isPINRequired();
  if (pinRequired == 1) {
    if (!GPRS.unlockSIM(PIN)) {
      Serial.println("Invalid PIN");
      while (true);
    }
  }
  else if (pinRequired != 0) {
    Serial.println("Blocked SIM");
    while (true);
  }
}

////////////////////////////////////////////////////////////////////////////////////////////////////

void loop() {
  static uint32_t lastStatusTime = millis();
  if (millis() - lastStatusTime > 2000) {
    uint8_t networkStatus = GPRS.getNetworkStatus();
    Serial.print("Status: ");
    Serial.println(networkStatus);
    lastStatusTime = millis();

    if ((networkStatus == 1) || (networkStatus == 5)) {
      int GPRSStatus = GPRS.getGPRSStatus();
      if (GPRSStatus == 0) {
        if (!GPRS.enableGPRS(APN, USERNAME, PASSWORD)) {
          Serial.println("GPRS not enabled");
        }
      }
      else if (GPRSStatus == 1) {
        if (GPRS.connected()) {
          if (!client.connected()) {
            static bool requestDone = false;
            if (!requestDone) {
              if (!client.connect("www.industrialshields.com", 80)) {
                Serial.println("Error connecting to web");
              }
              else {
                client.println("GET /index.html HTTP/1.1");
                client.println("Host: www.industrialshields.com");
                client.println("User-Agent: GPRS-PLC");
                client.println();
                Serial.println("Connected");
                Serial.println("Data sent");
                requestDone = true;
              }
            }
          }
          else if (client.available()) {
            Serial.println("HTTP response:");
            size_t len = client.read(buffer, sizeof(buffer));
            Serial.write(buffer, len);
            client.stop();
          }
        }
      }
    }
  }
}
How to use GPRS Module