Introduction
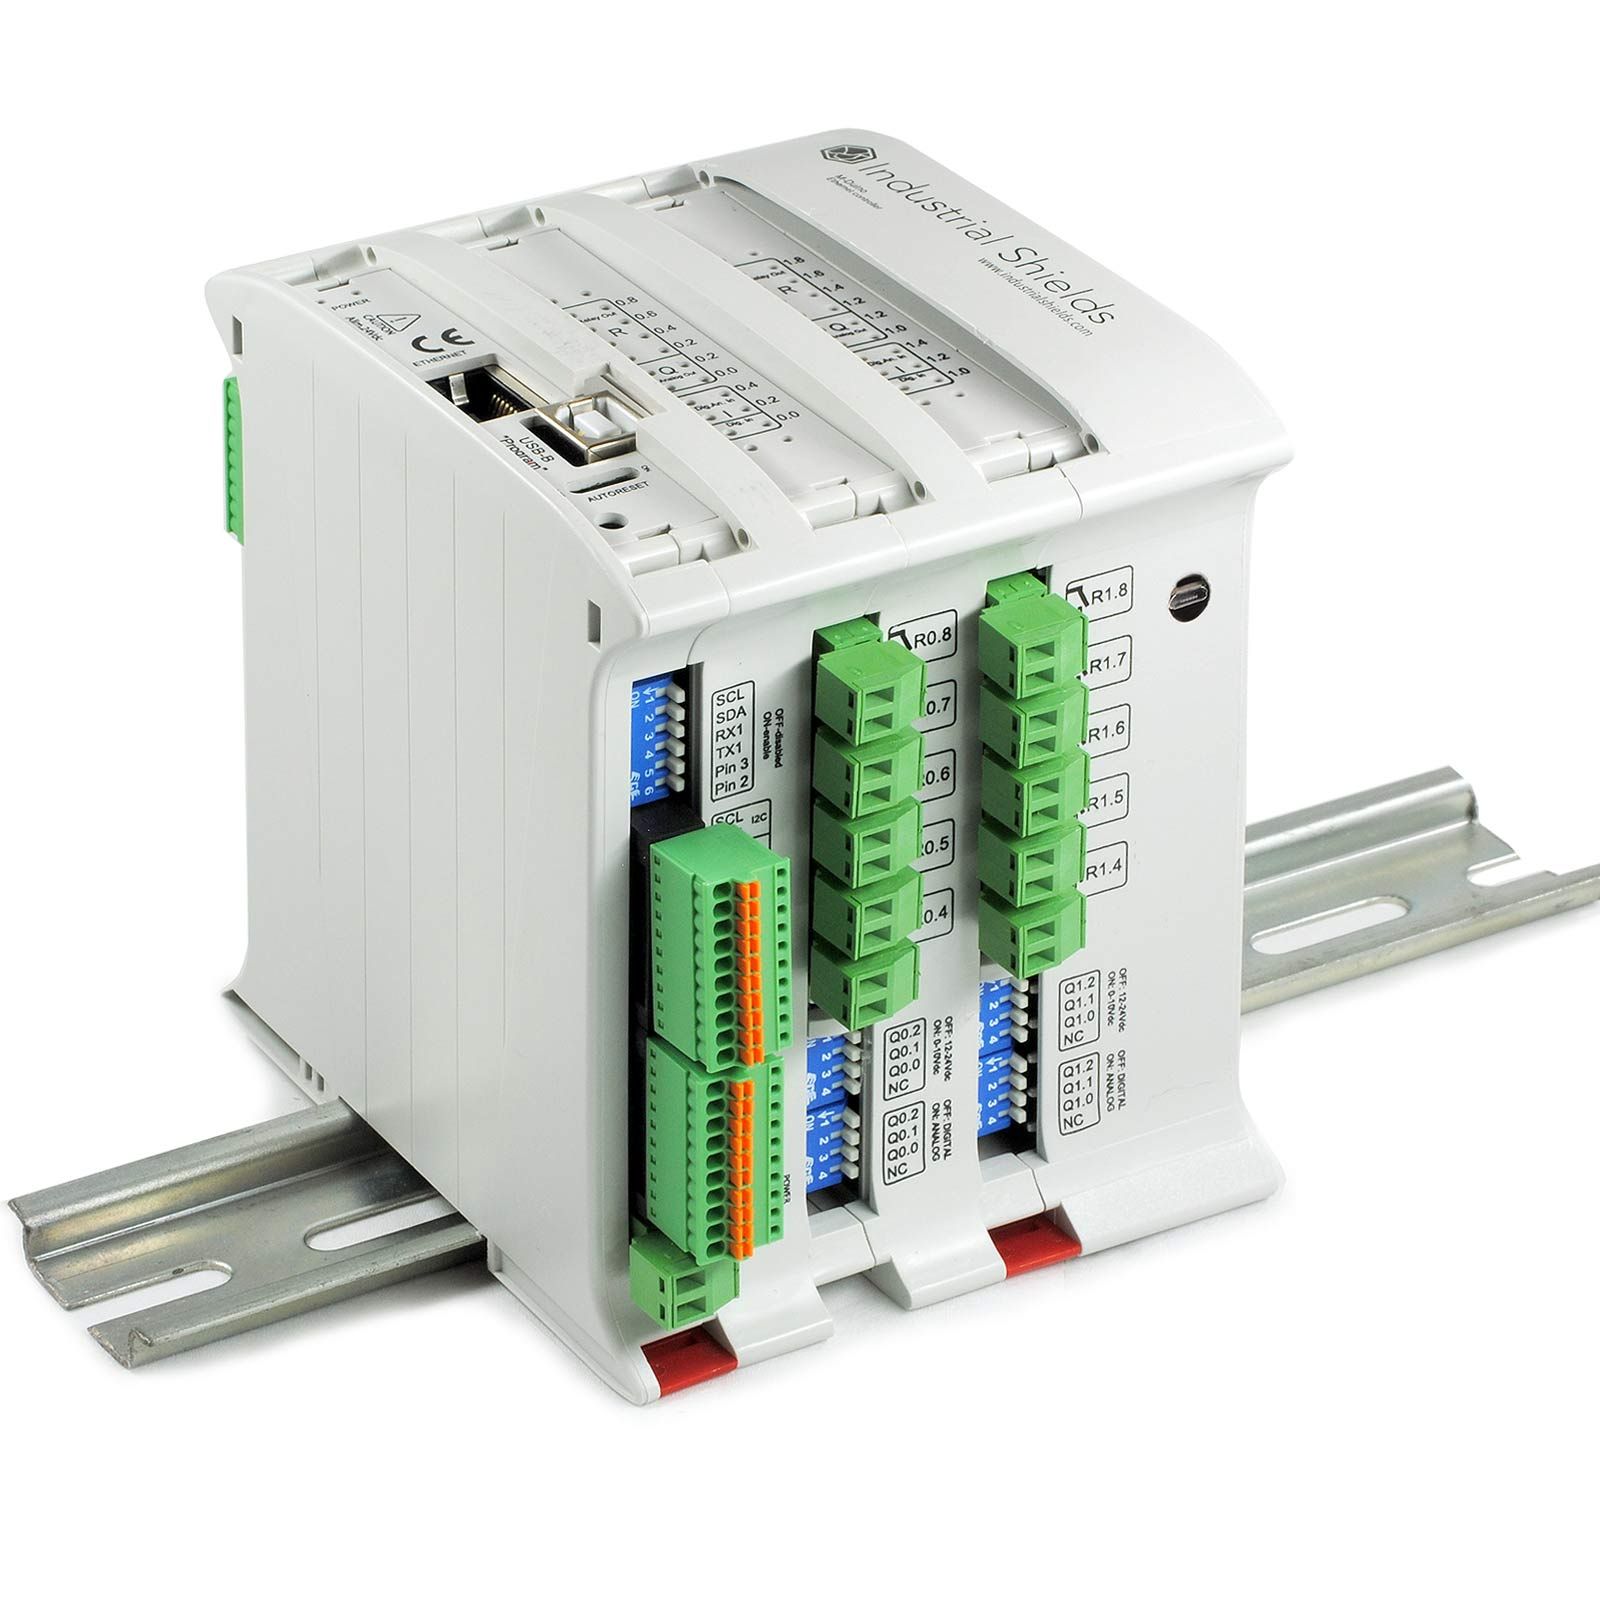
This post it is showed how to connect a Bluetooth module, HC-05 on this example, to an Arduino based PLC. With all the Industrial Shields equipment it’s possible to add a Bluetooth module as HC-05.
Requirements
Ethernet PLC: Ethernet PLC
Industrial Shields boards: Industrial Shields Boards
Description
HC-05 is a converter from serial TTL to Bluetooth waves and vice versa. The first step is to fix the connections between HC-05 for example an M-Duino 21. The HC-05 connections available are shown below:
Implementation of the Arduino Bluetooth Control
HC-05 has two pins for TTL communication (RX/TX), two pins for power supply (VCC 5V5-3V and GND, WAKEUP(IN) pin to configure the HC-05 and STATE pin (OUT). Next, it is showed how to connect HC-05 with an M-Duino, with an Ardbox or an Arduino board the connections would be the same.
Once the devices are connected we can proceed to change the HC-05 default configuration using AT commands. Connecting WAKEUP pin directly to VCC to put the HC-05 module on AT mode. On AT mode the red LED is blinking slowly. When red led is blinking slowly means that the device is on AT mode and ready to be configured. Below is showed a table with the most important AT. See your product Bluetooth module for more information.
Using a simple sketch to read/write from the Serial1 or Serial3 from the M-Duino PLC it’s possible to configure the HC-05 with the AT commands. Then it just needs to send AT commands through the serial monitor. Next is showed the sketch and the serial monitor screenshots:
void setup()
{
  Serial.begin(9600);
  Serial.println("Enter AT commands:");
  Serial1.begin(38400);
}

void loop()
{
  if (Serial1.available())
    Serial.write(Serial1.read());

  if (Serial.available()) {
    byte in = Serial.read();
    Serial1.write(in);
    Serial.write(in);
  }
}
IMPORTANT!: Use “Both NL and CR” configuration on serial monitor, if not the AT commands won’t be accepted for HC-05. For more information see your device datasheet.
Using AT+NAME:<desiredname> it’s possible to change the device name and using AT+PSWD:<desiredpass> it’s possible to change the device password. Remember that with this device, the default UART configuration is for 38400 baud rate. If after sending the simple AT you don’t receive an OK could be that the default value of your device is other that 38400. After configuring the Bluetooth device we are able to contact it with an external device.
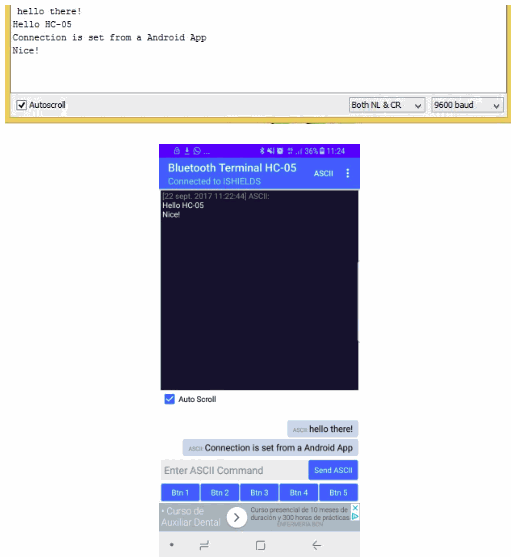
You must remove the WAKEUP pin and connect it to GND. Then the Bluetooth device will be ready to communicate with another external device (fast red LED blinking). On this example was used an Android smartphone with a Terminal Bluetooth application called HC-05 Terminal. Sending with ASCII code from the smartphone application (Bluetooth Terminal HC-05).


How to connect a Bluetooth module to an Arduino based PLC